Page Sections
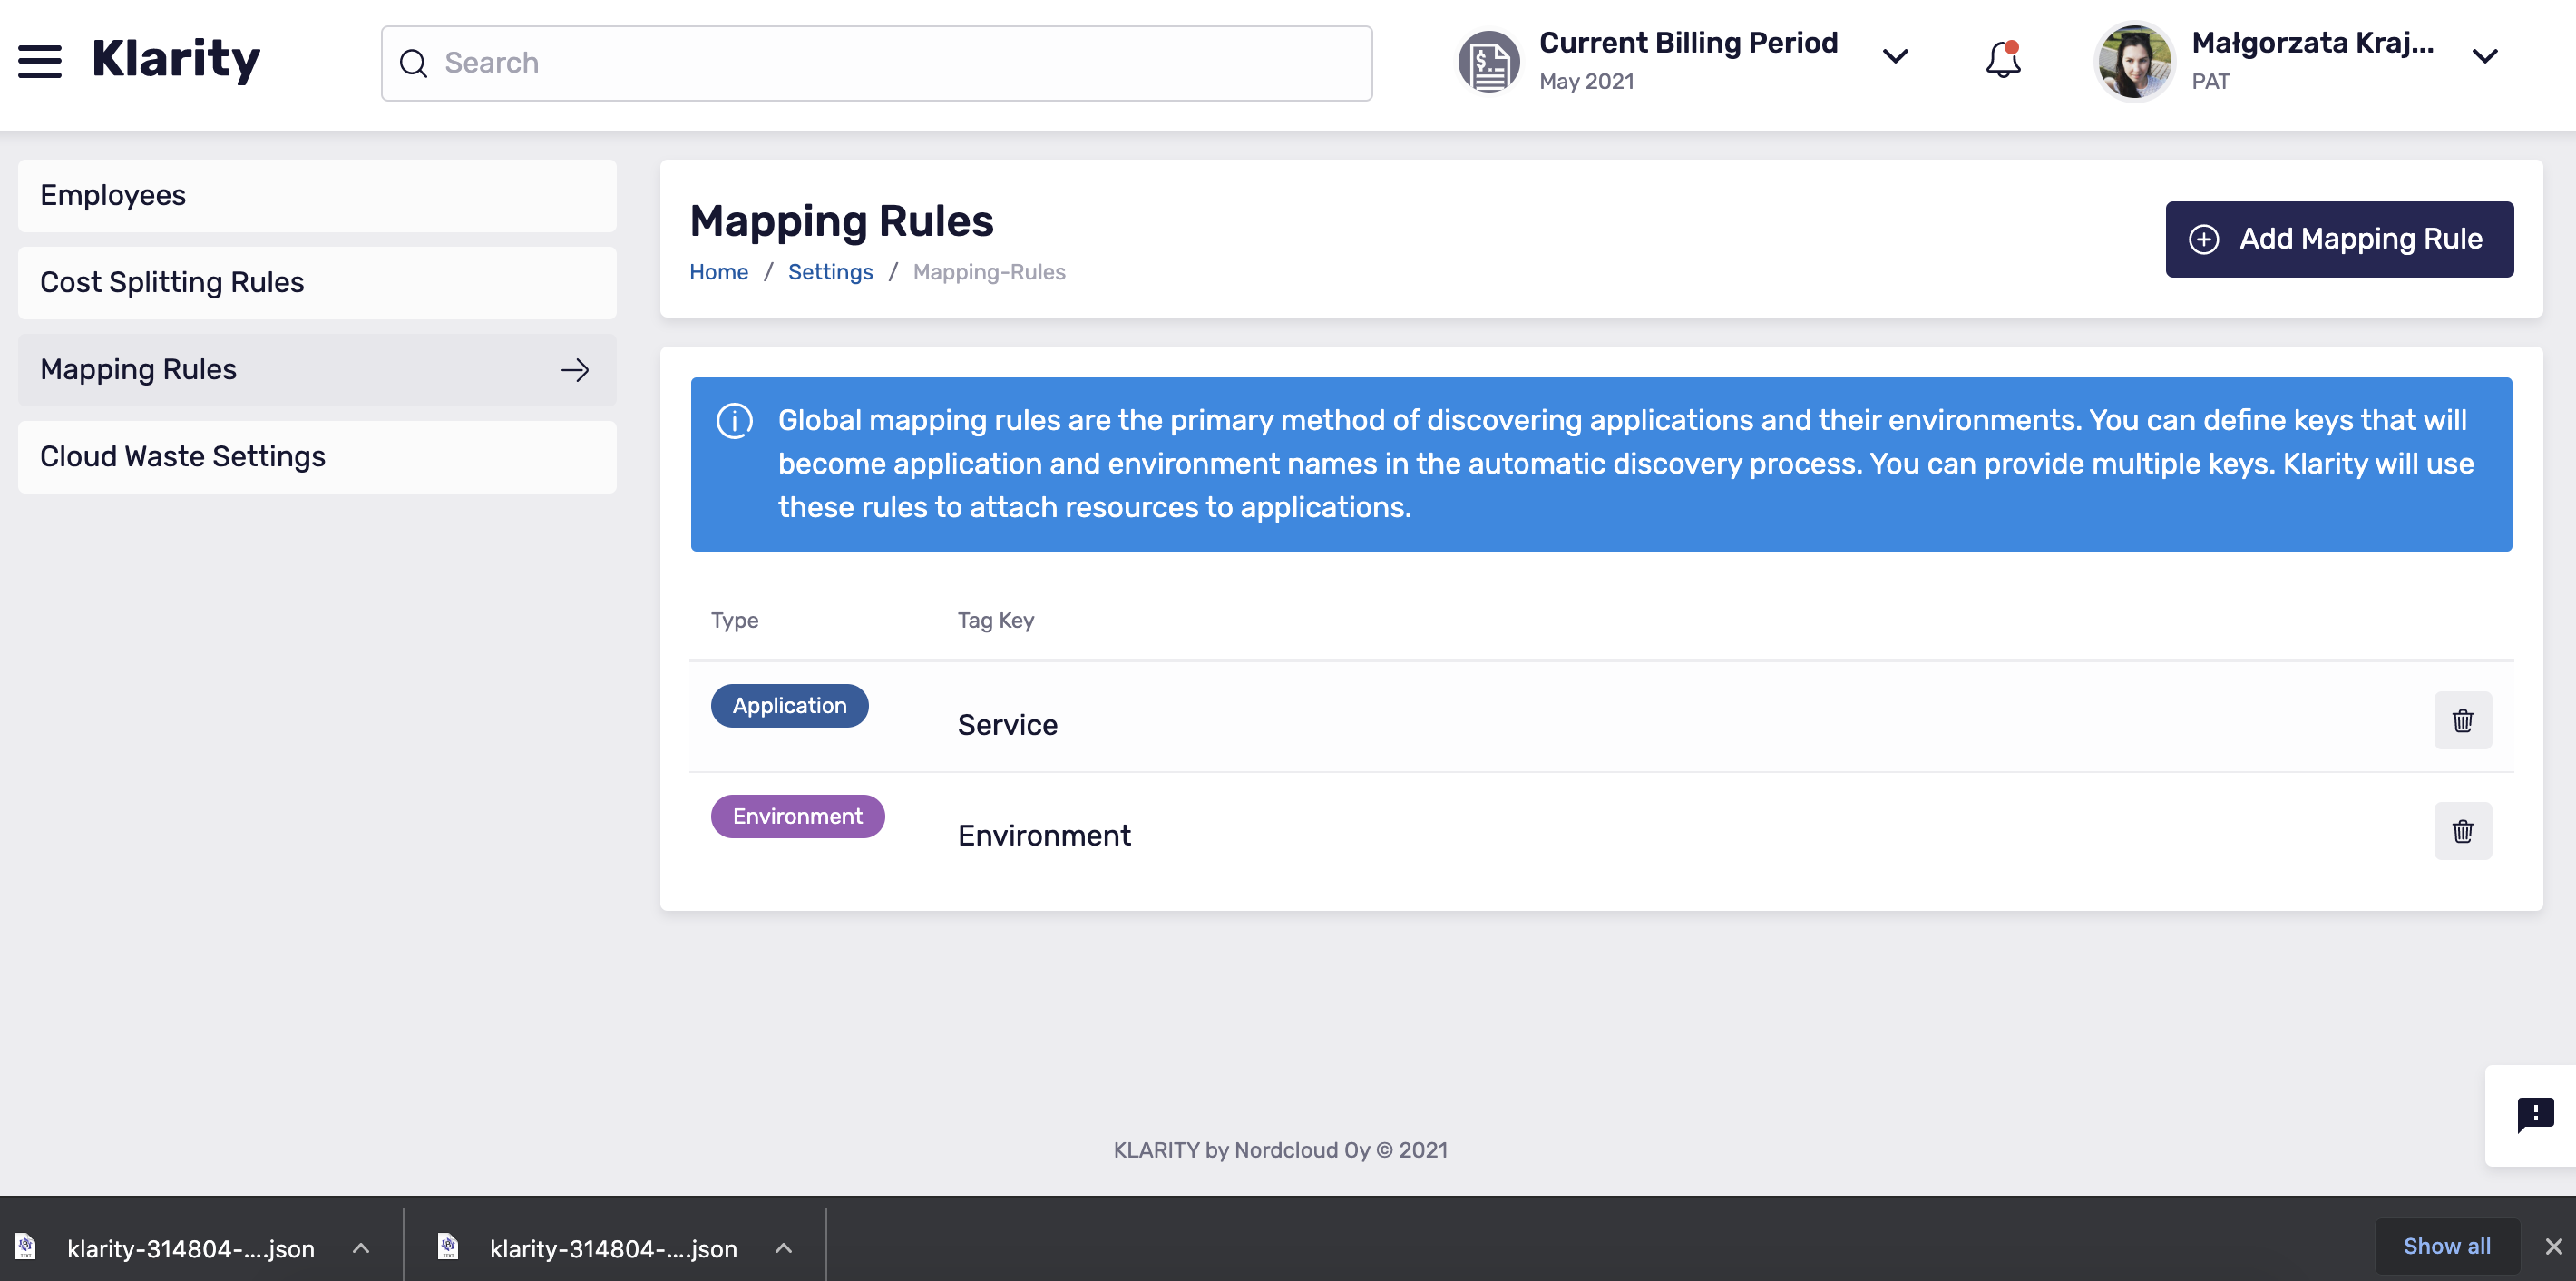
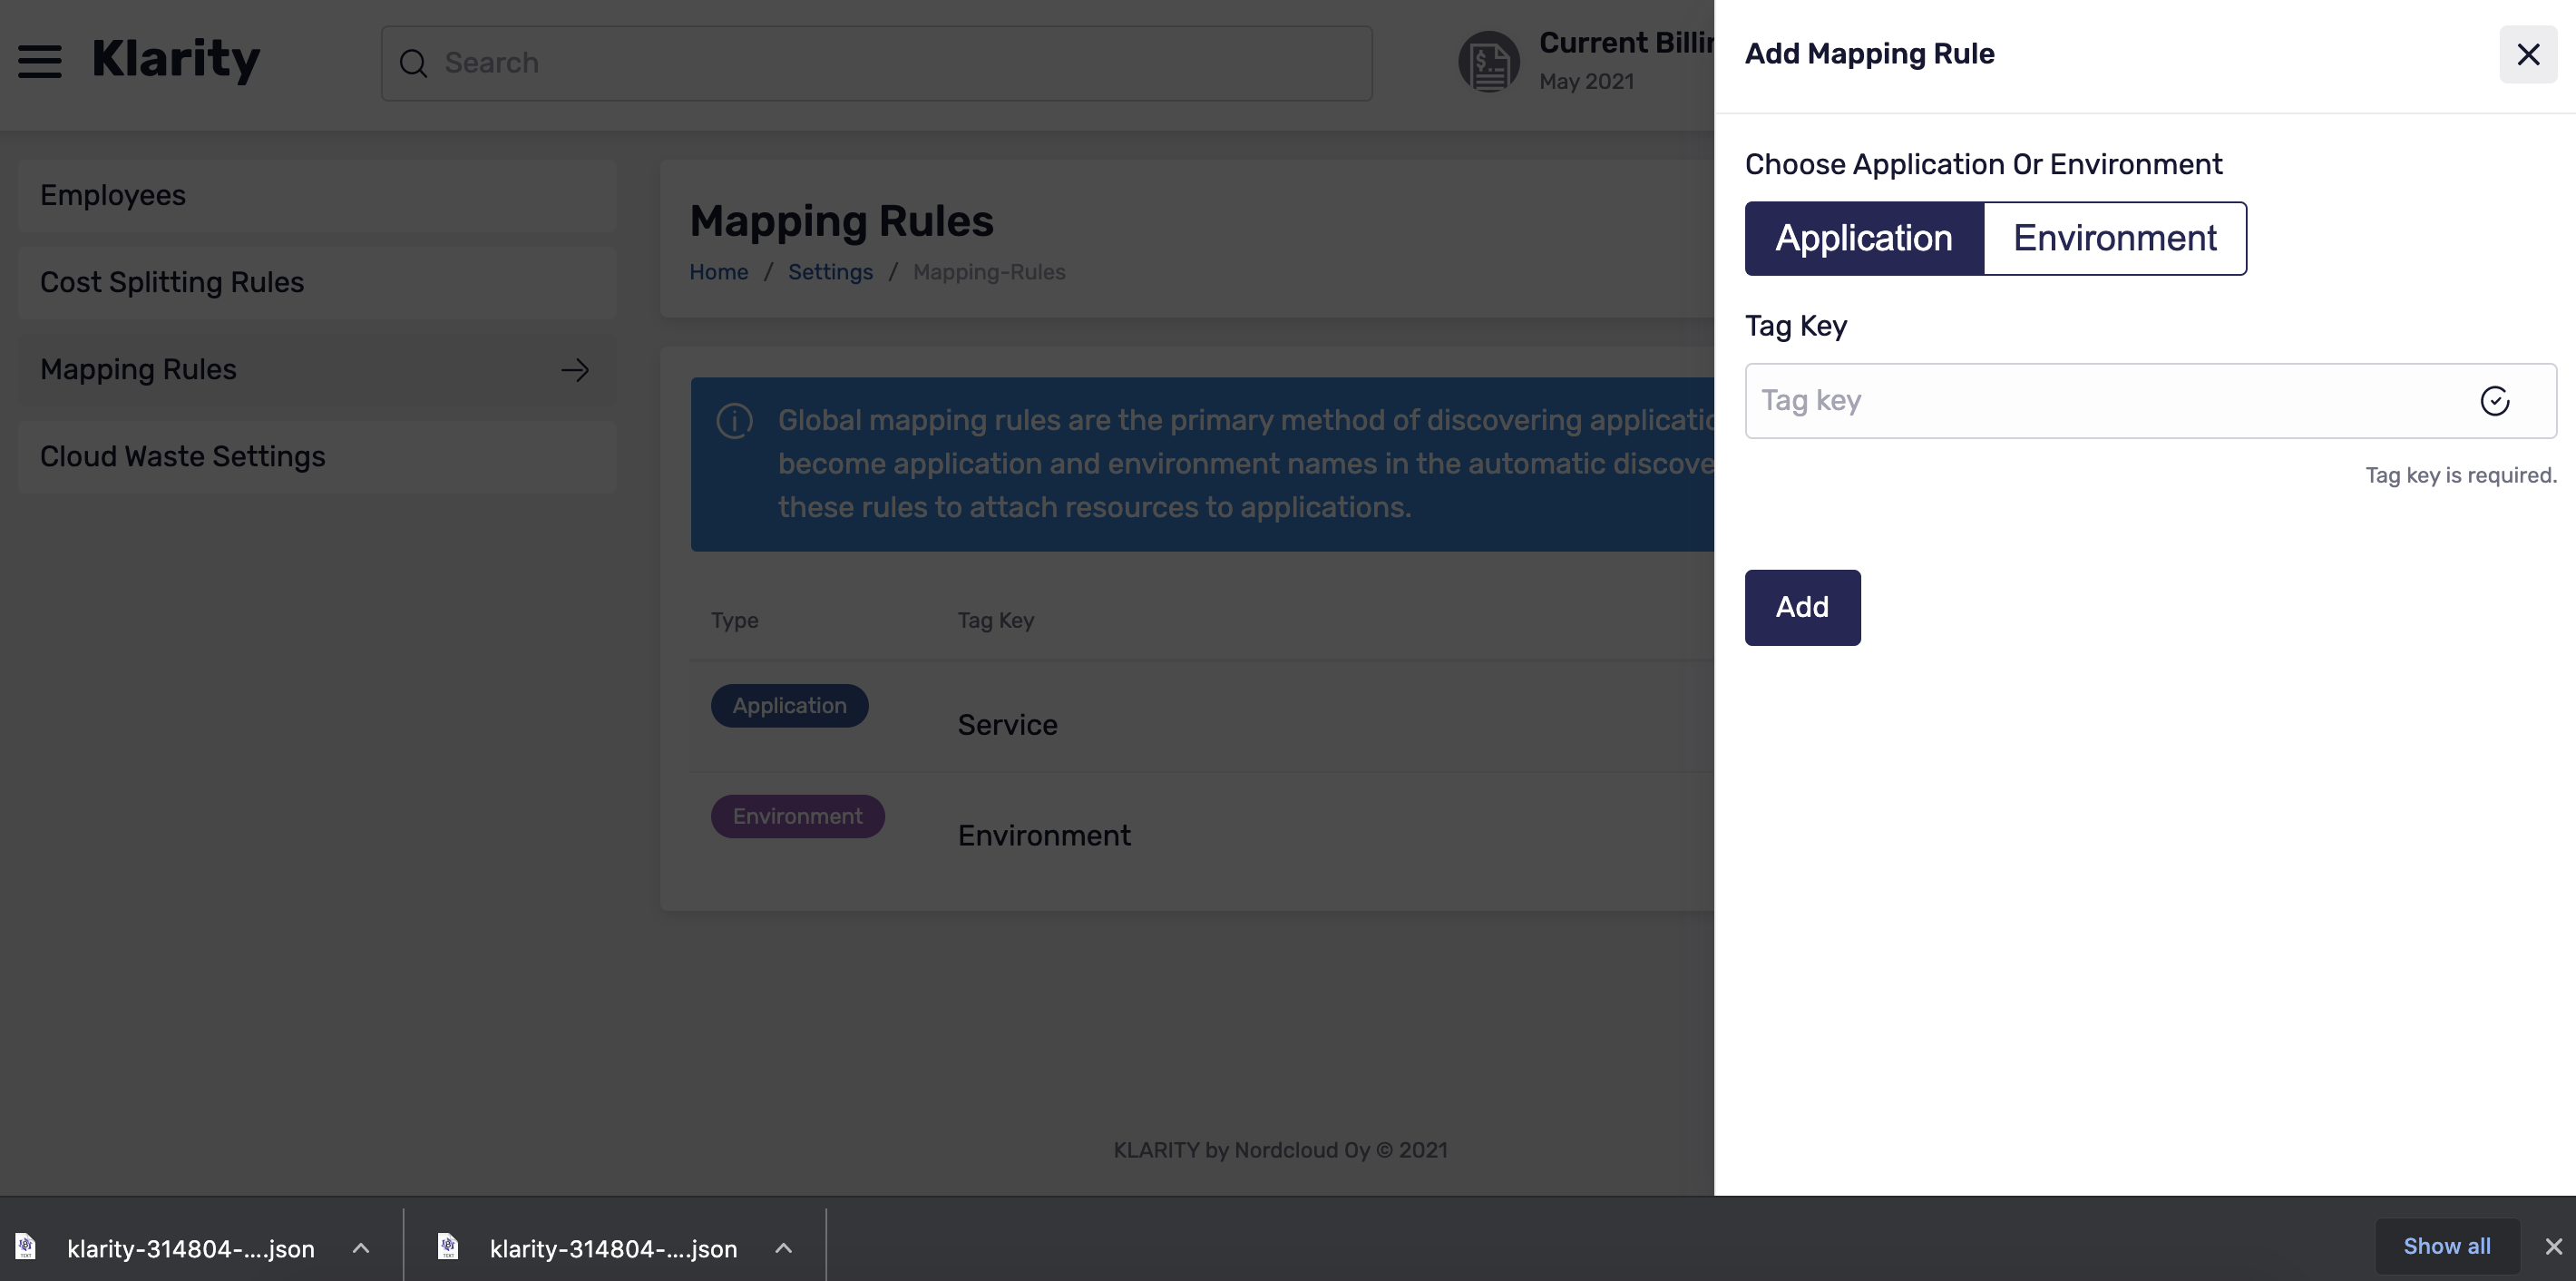
1st-level mapping: Mapping Rules
Klarity can automatically discover applications and environments with mapping rules which use tags to attach resources.
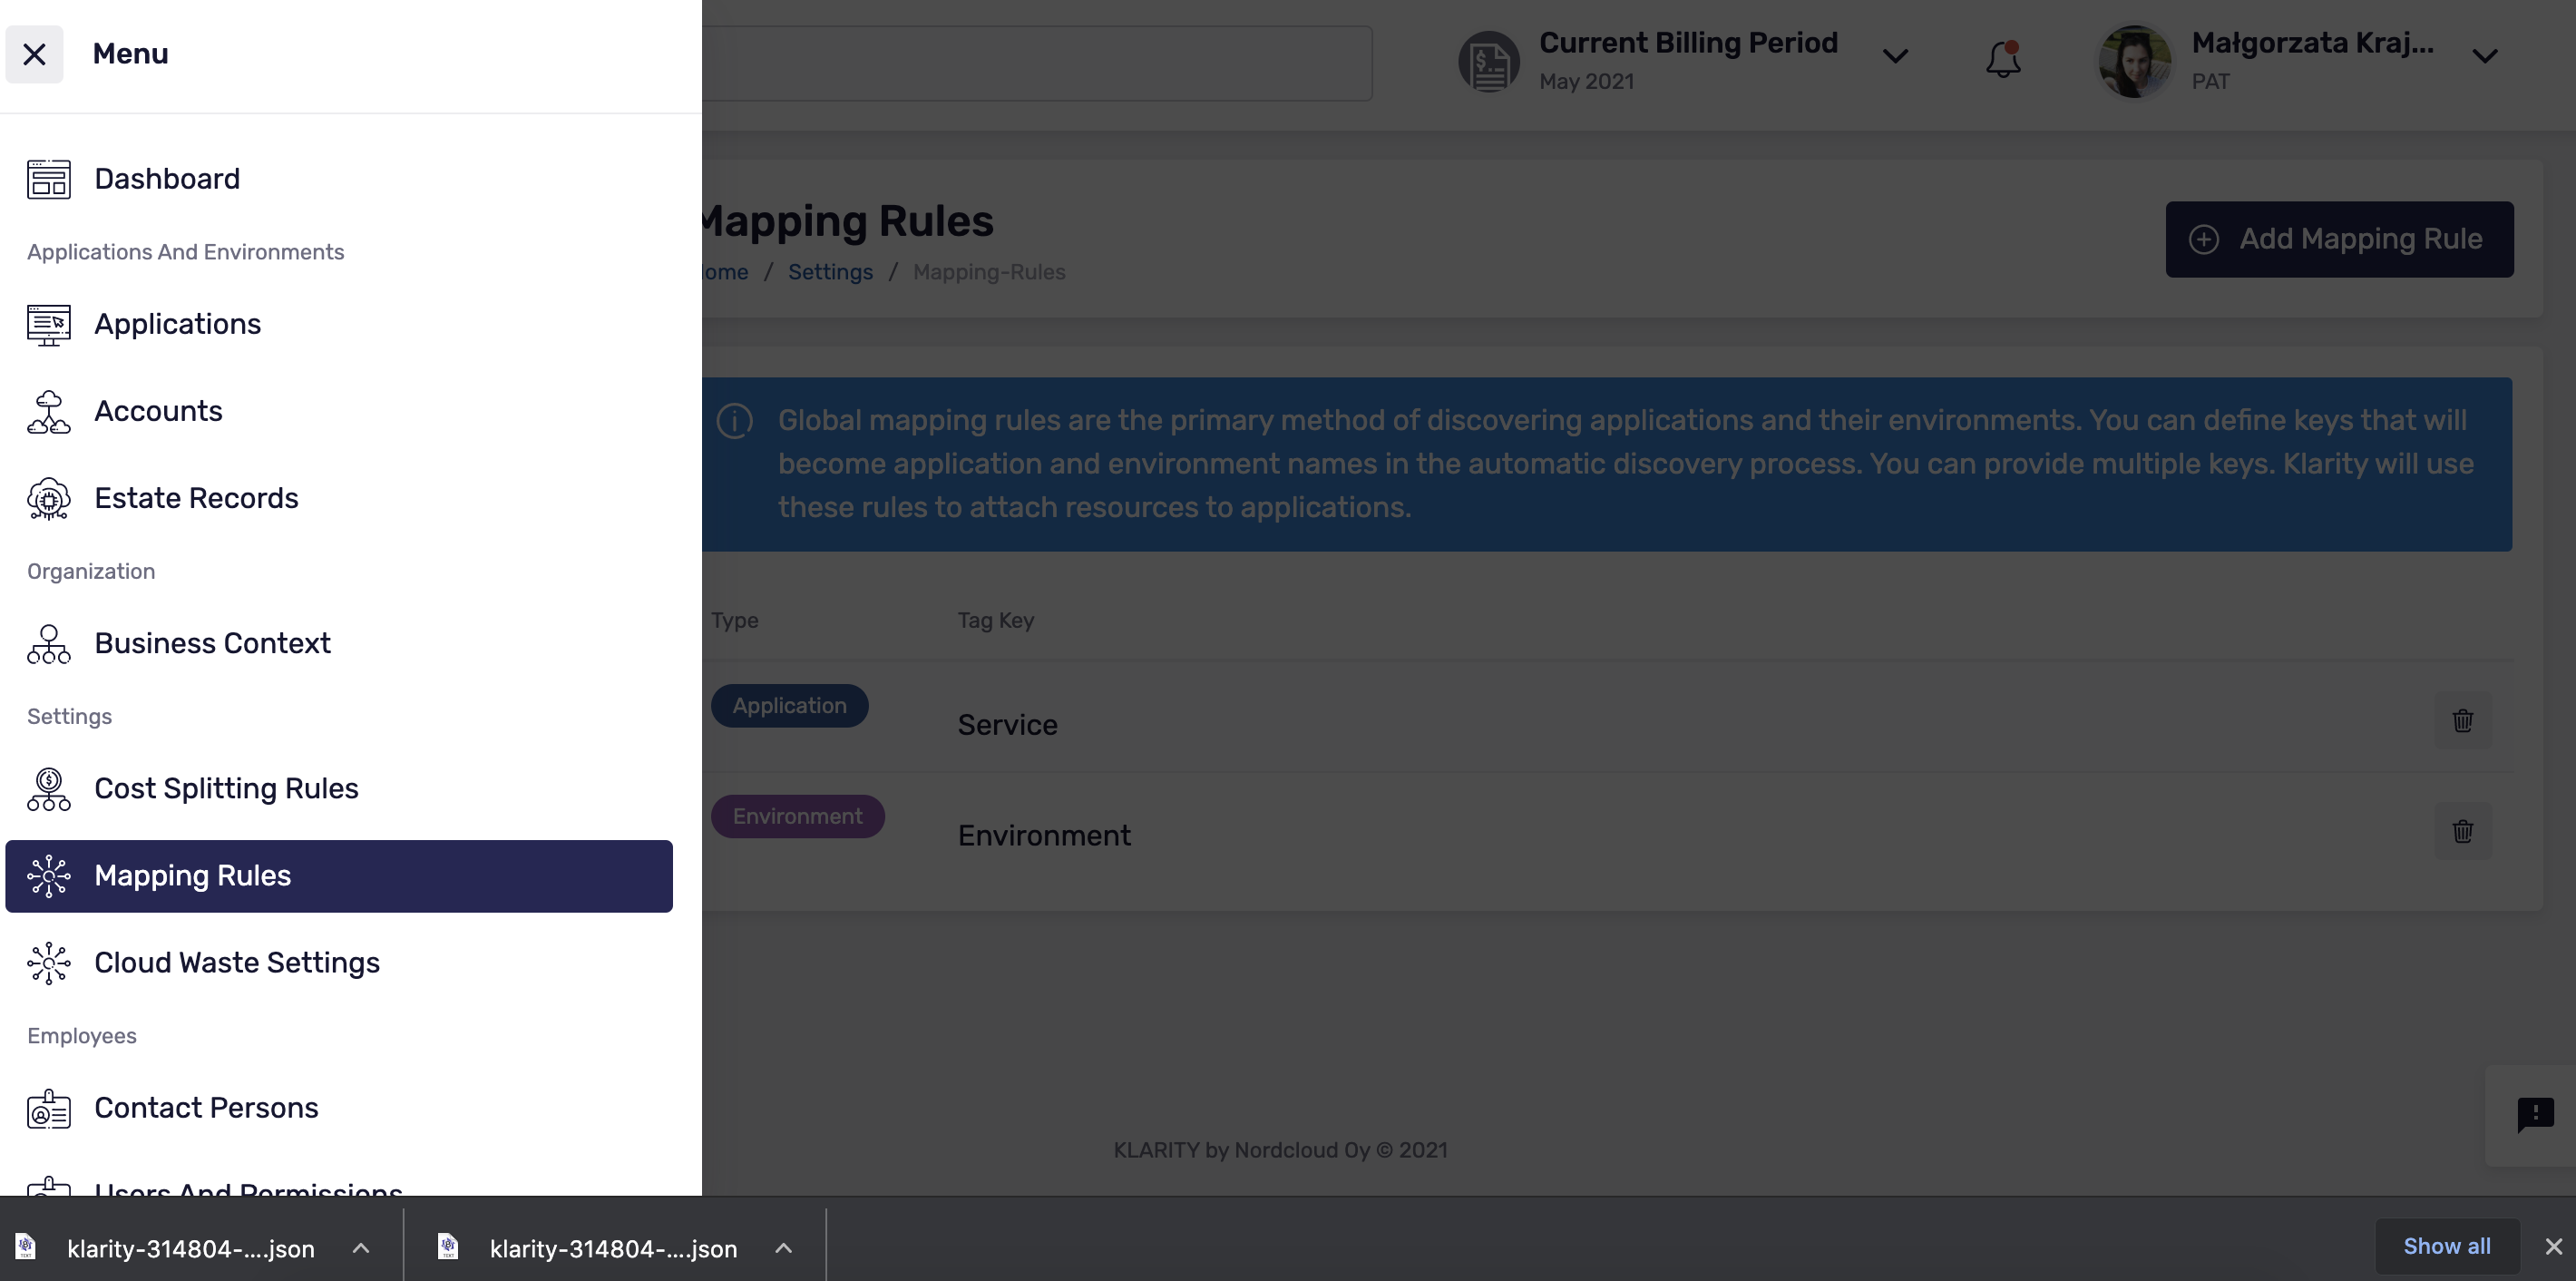
This feature is case-sensitive. Therefore if your tags have the same names, but are spelled with a different combination of upper and lower case letter, you will get the same applications.
2nd-level mapping: Discovery Rules
If you do not use tags with your cloud accounts at all, or if not all resources were automatically assigned to applications and environments (in main, see Unassigned estate records), follow the instructions below.
Mapping rules on the environment level were created to help you automatically assign resources to applications and environments, so that any newly created estate records in any of your cloud environments are automatically assigned to your application and environment based on those rules.
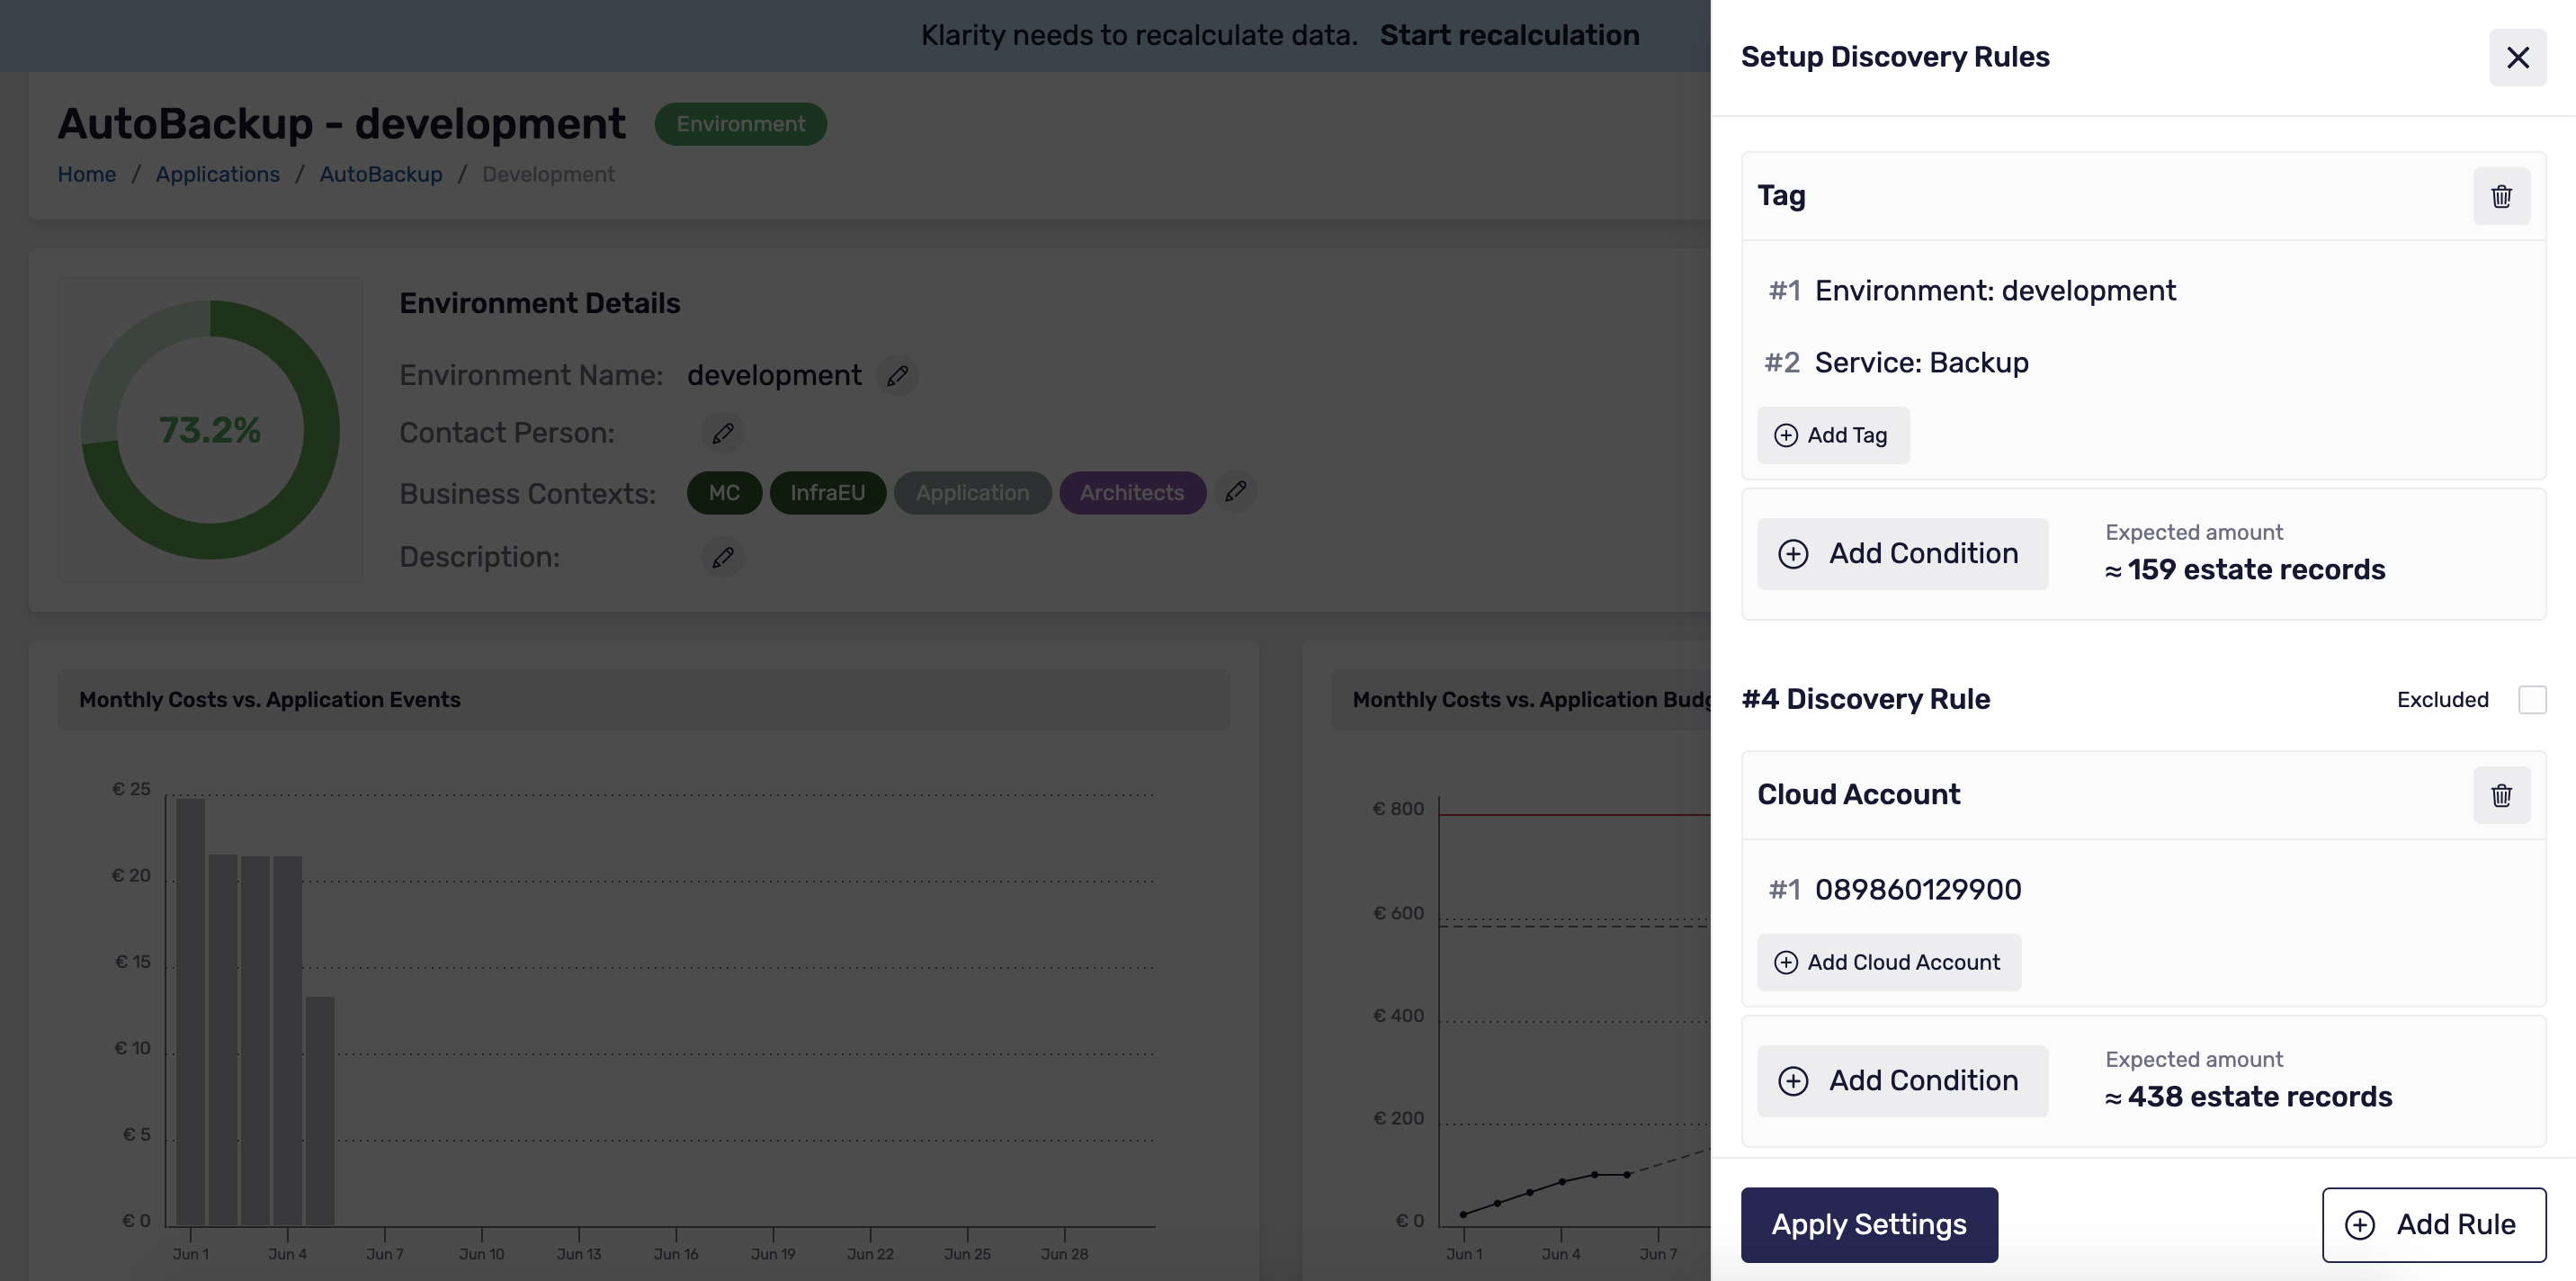
In the application to which you want to assign resources, go to environment details, and click on the Discovery rules button. You will see the screen with the options for discovery rules:
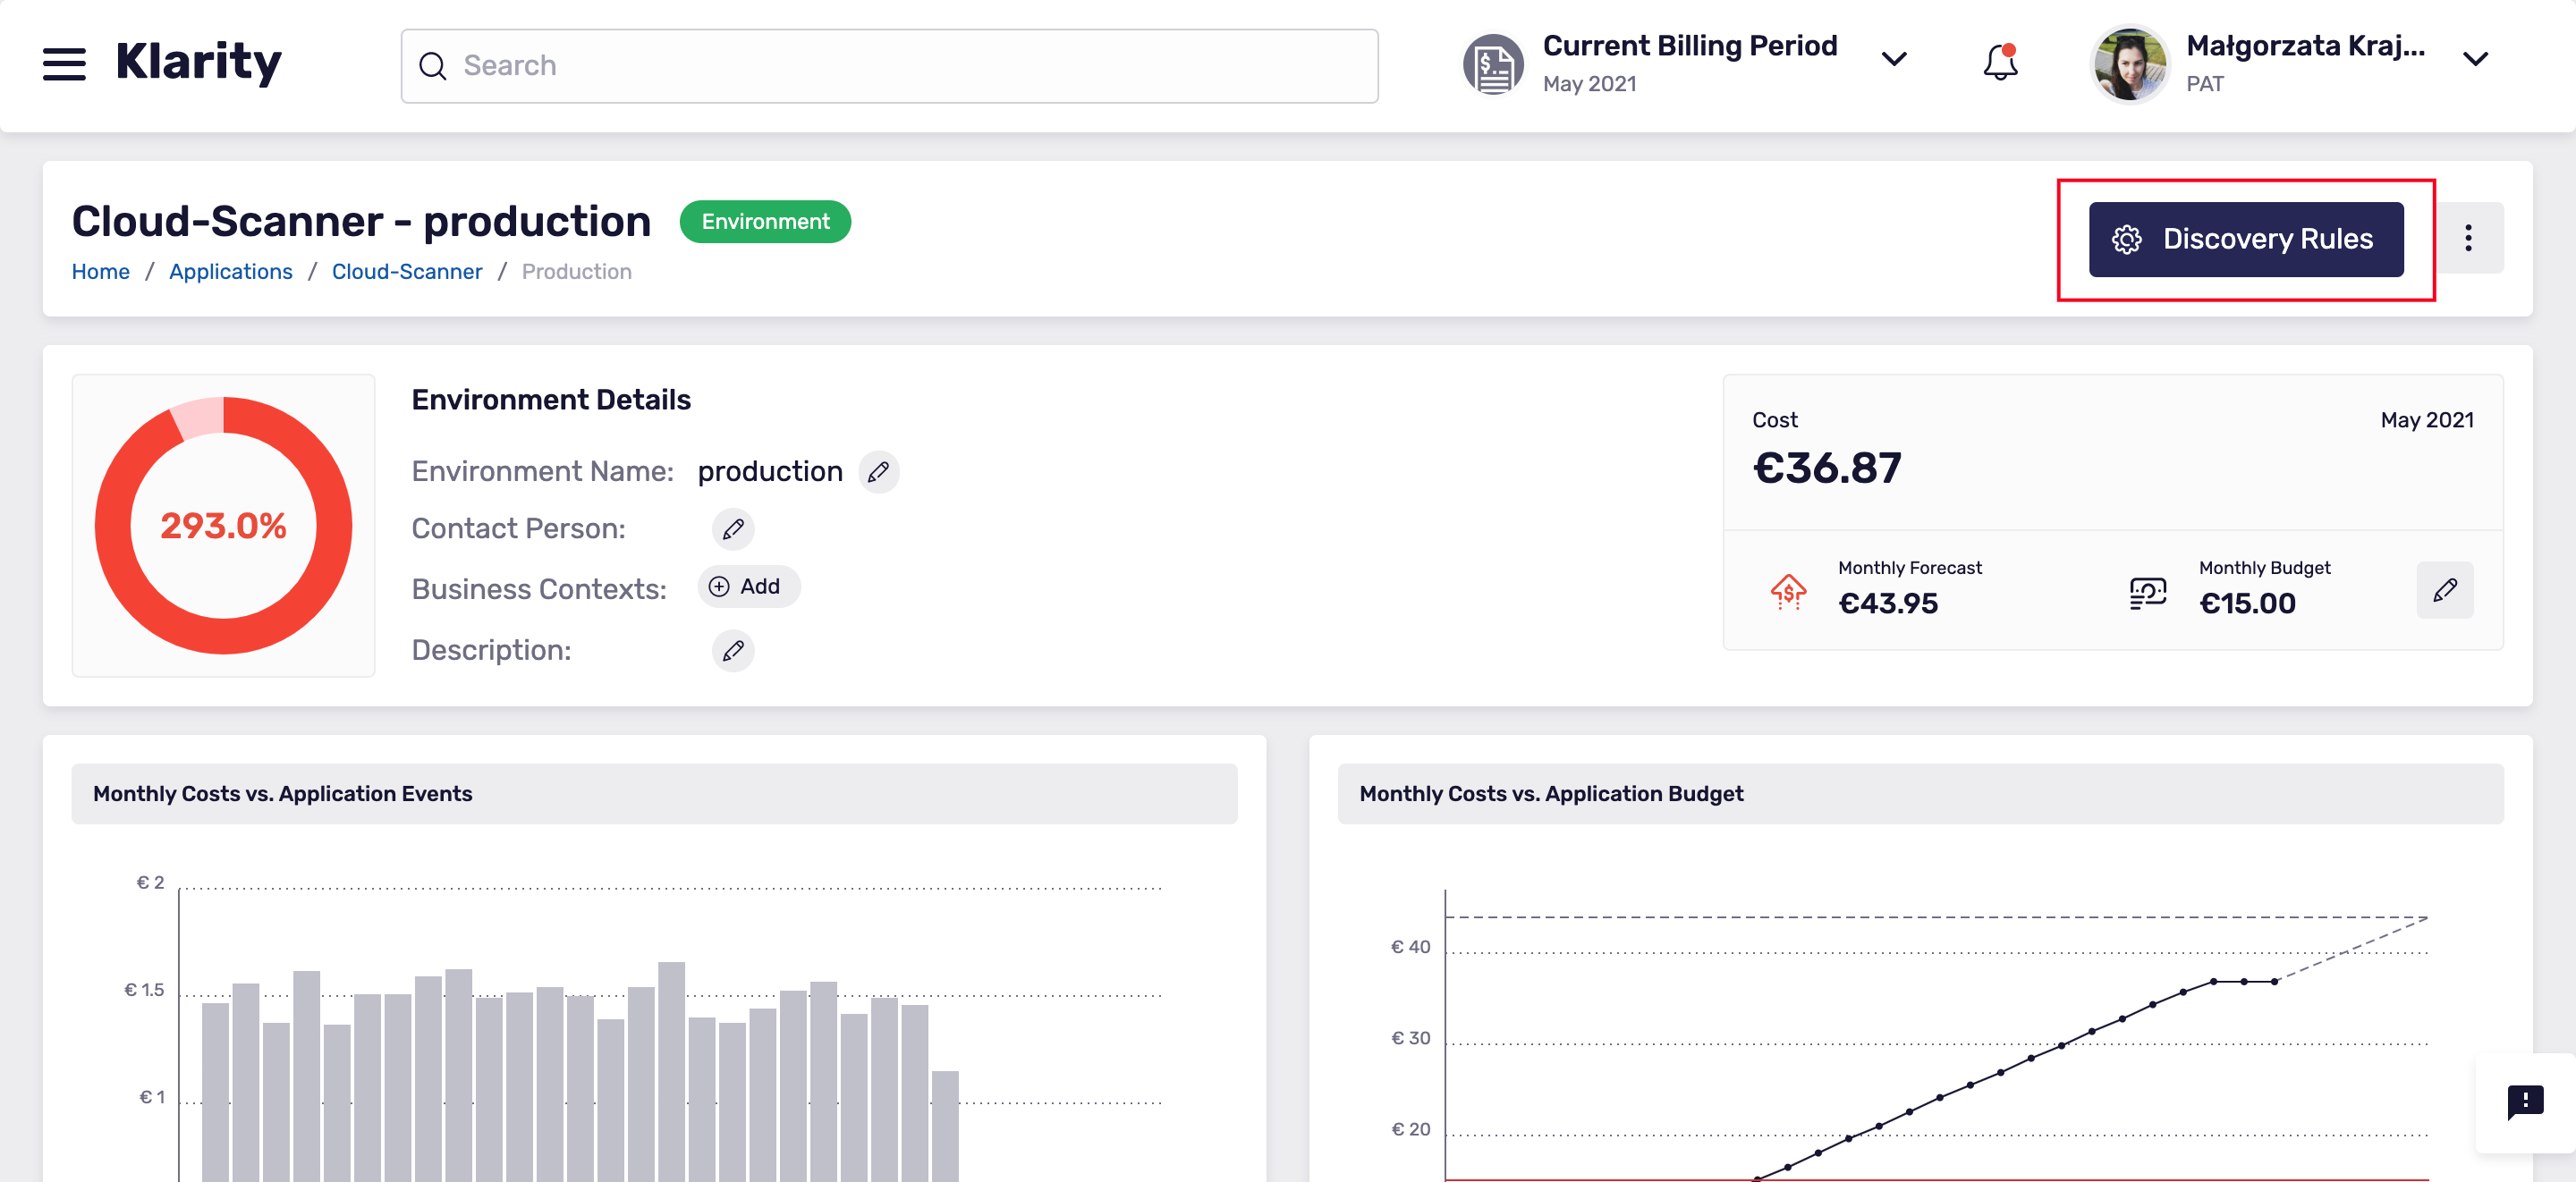
In this section you can configure the rules by:
- Cloud account (you can pick accounts from the list)
- Resource type (the list contains all the resources supported by Klarity that are from all cloud vendors)
- Tag (this allows you to define the key and value of tags that you have set up on the cloud resources)
- Azure resource group
- GCP project ID
With Klarity, you can combine these rules to define exactly which resources should be assigned to the particular environment of an application. As an example, you can define that, for the AutoBackup application and development environment, resources from one account with a particular tagging scheme are automatically assigned.
NOTE: Klarity scans your environment automatically every 24 hours, so configuration changes do not take effect immediately.
However, you can choose to scan your environment at any time by using the Recalculation button that appears at the top of each Klarity view when you start making changes in mapping:

3rd-level mapping: Assign Resources manually
Some resources might not follow any of the rules you created in either global discovery rules or in application discovery rules. In this case, you can assign these resources manually. To see the list of unallocated resources, go to the Estate Records page and click the Unallocated Estate Records toggle. You can filter the dates when the estate records were unallocated.
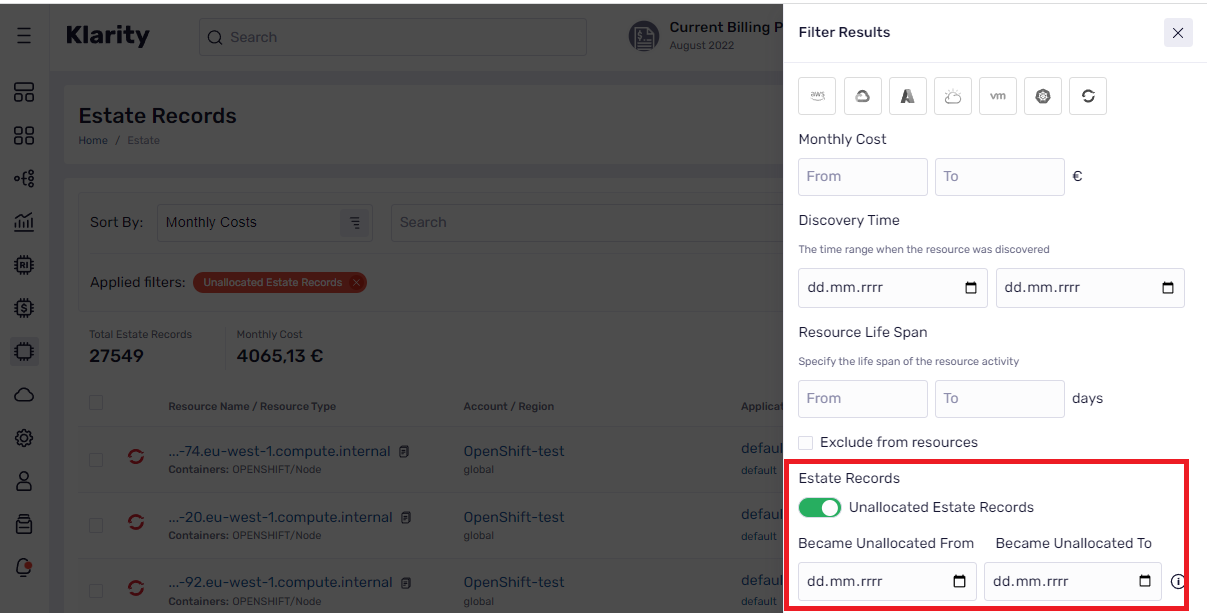
Click on those resources to see the screen on which you can build, filter and/or assign resources to the applications and environments. By building filters, you can get a list of the resources you can assign in a batch. To see how to attach estate records manually go into attaching estate records.
Edit this page on GitHub