Page Sections
Introduction
You use Klarity's Kubernetes/OpenShift Scanner to feed data to Klarity from either your Kubernetes cluster, or your OpenShift cluster.
To connect the Scanner to Klarity, you must:
- add a Kubernetes cluster account in Klarity
- deploy a YAML file inside your Kubernetes cluster
- the YAML file includes Prometheus that will be deployed automatically inside your cluster as an prerequist for Kubernetes costs visibility
Scanned entities
The Scanner scans the following entities:
- Node
- PersistentVolume
- PersistentVolumeClaim
- Pod
- Deployment
- Service
- Ingress
- ReplicaSet
- StatefulSet
- Job
- CronJob
- ReplicationController
- DaemonSet
- VirtualMachine (with KubeVirt installed)
- VirtualMachineInstance (with KubeVirt installed)
- VirtualMachineInstanceMigration (with KubeVirt installed)
- VirtualMachineInstancePreset (with KubeVirt installed)
- VirtualMachineInstanceReplicaSet (with KubeVirt installed)
- VirtualMachineRestore (with KubeVirt installed)
- VirtualMachineSnapshot (with KubeVirt installed)
- VirtualMachineSnapshotContent (with KubeVirt installed)
- Route (only on openshift hyperscaler)
Prerequisites
Platforms
The Scanner works on either any Kubernetes cluster, or any OpenShift cluster.
Credentials
Credentials are included in the Deployment YAML deployment descriptor file (described below).
Ports
The scanner is using 5671 (AMQP protocol) to send the data to the Azure's endpoint: amqps://scanner-sb-prod.servicebus.windows.net
Limitations
Not applicable
How to onboard
Adding new cluster account
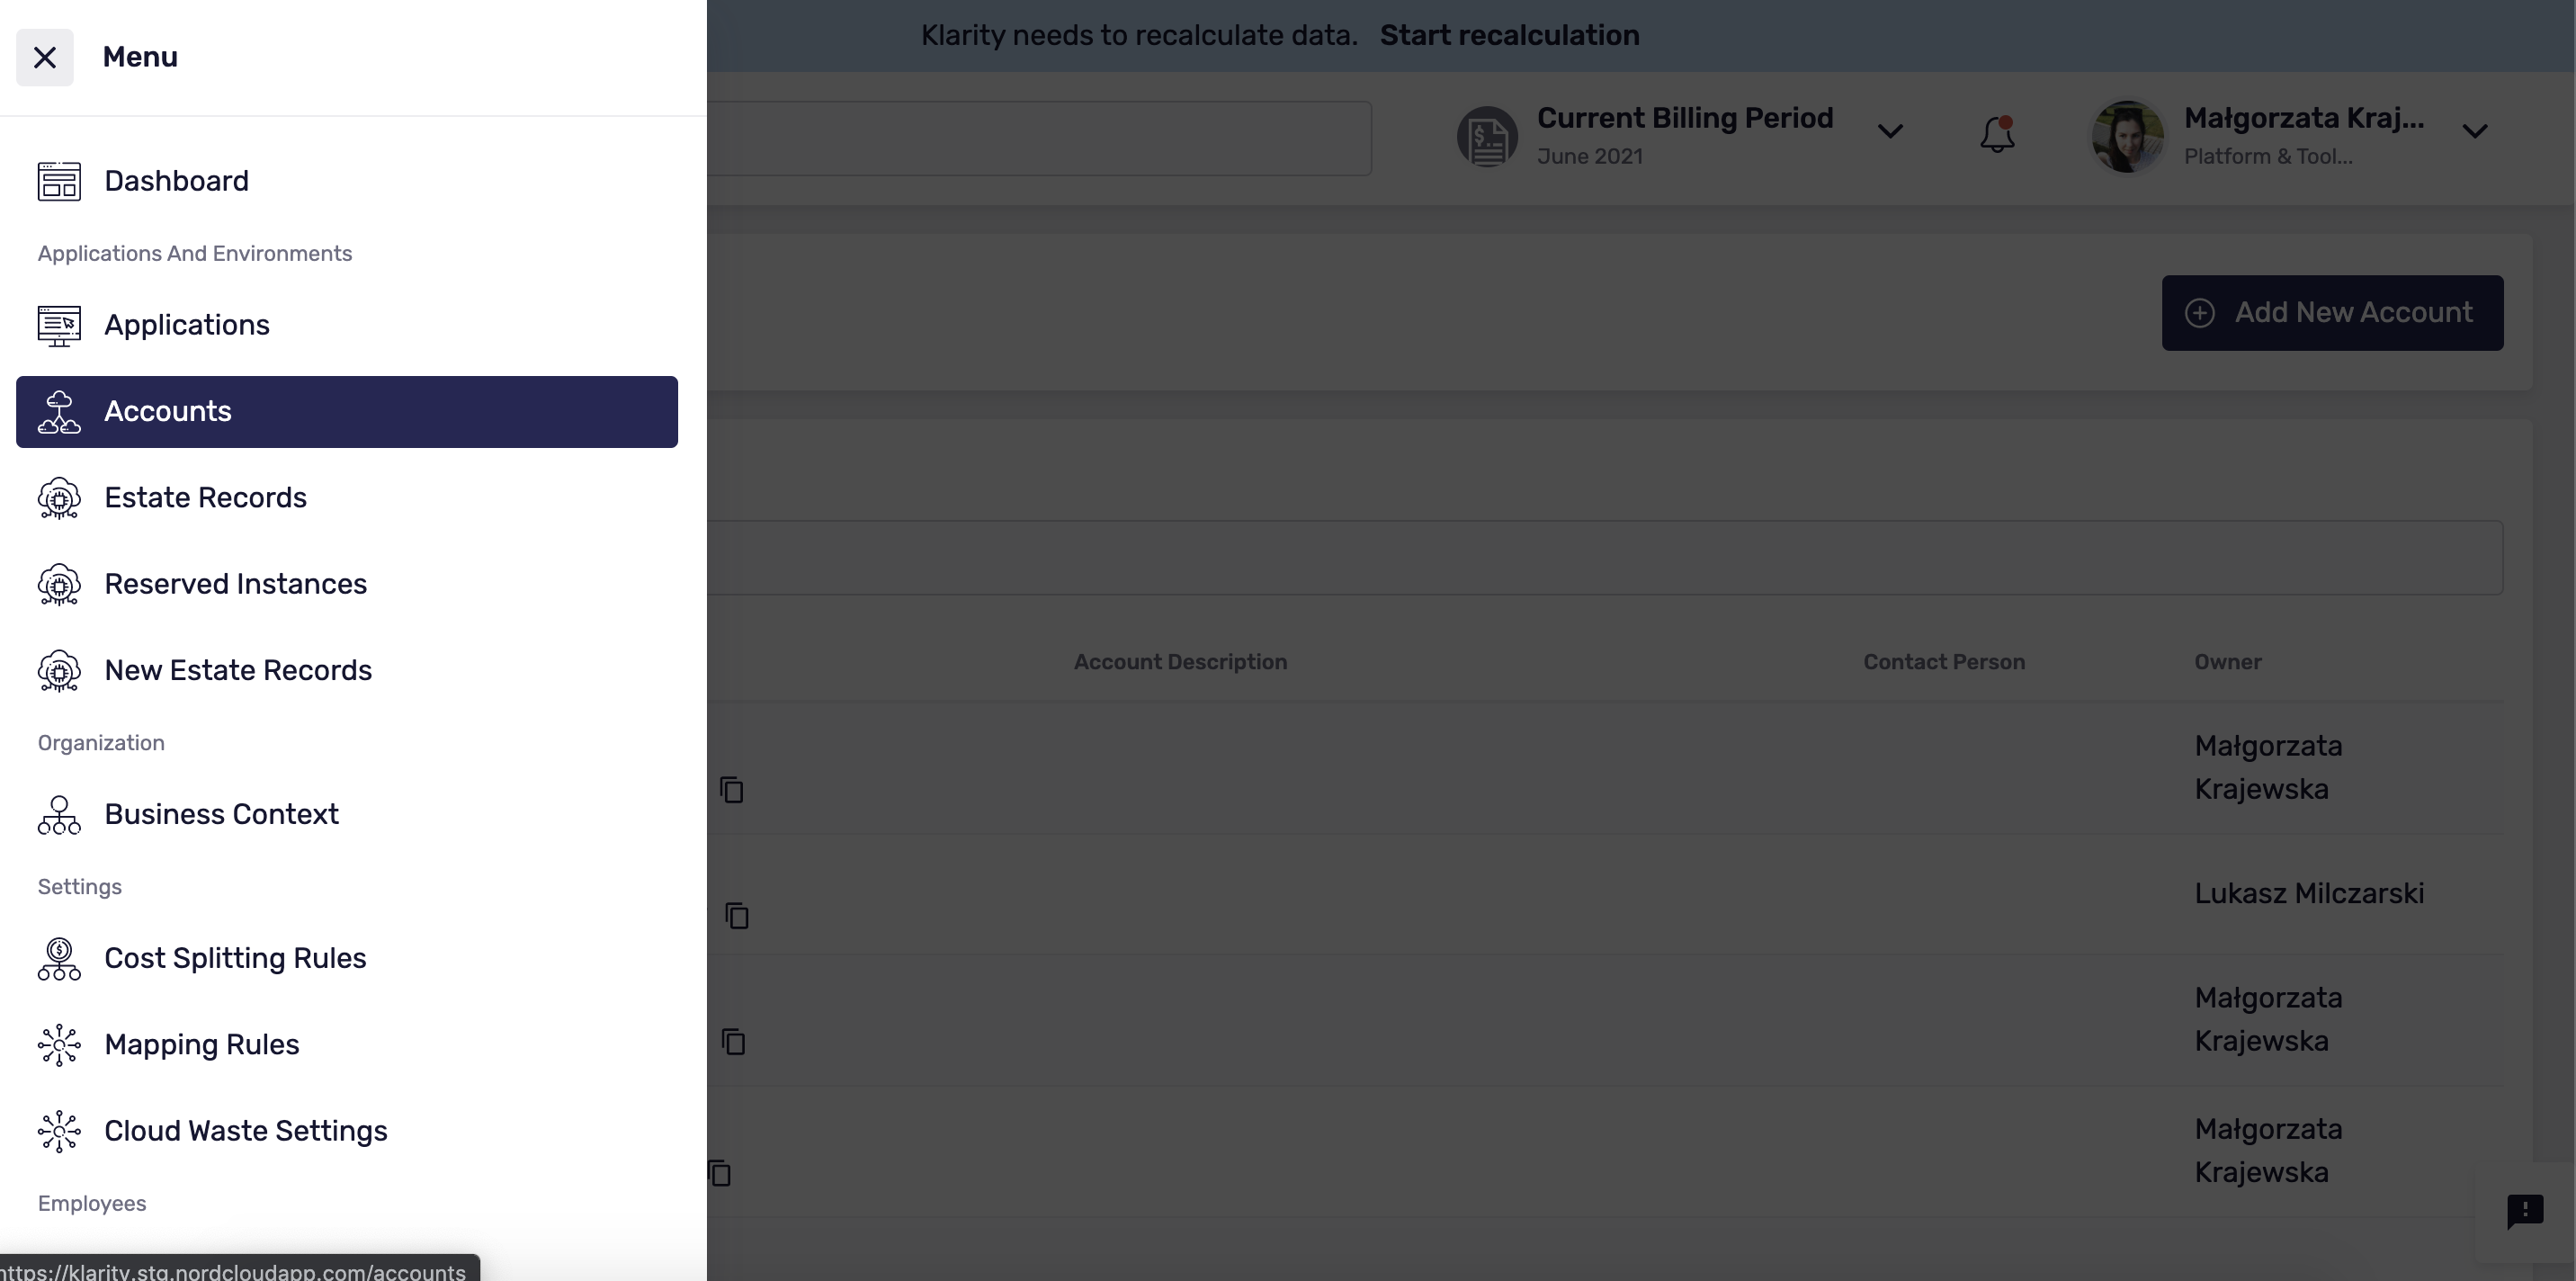
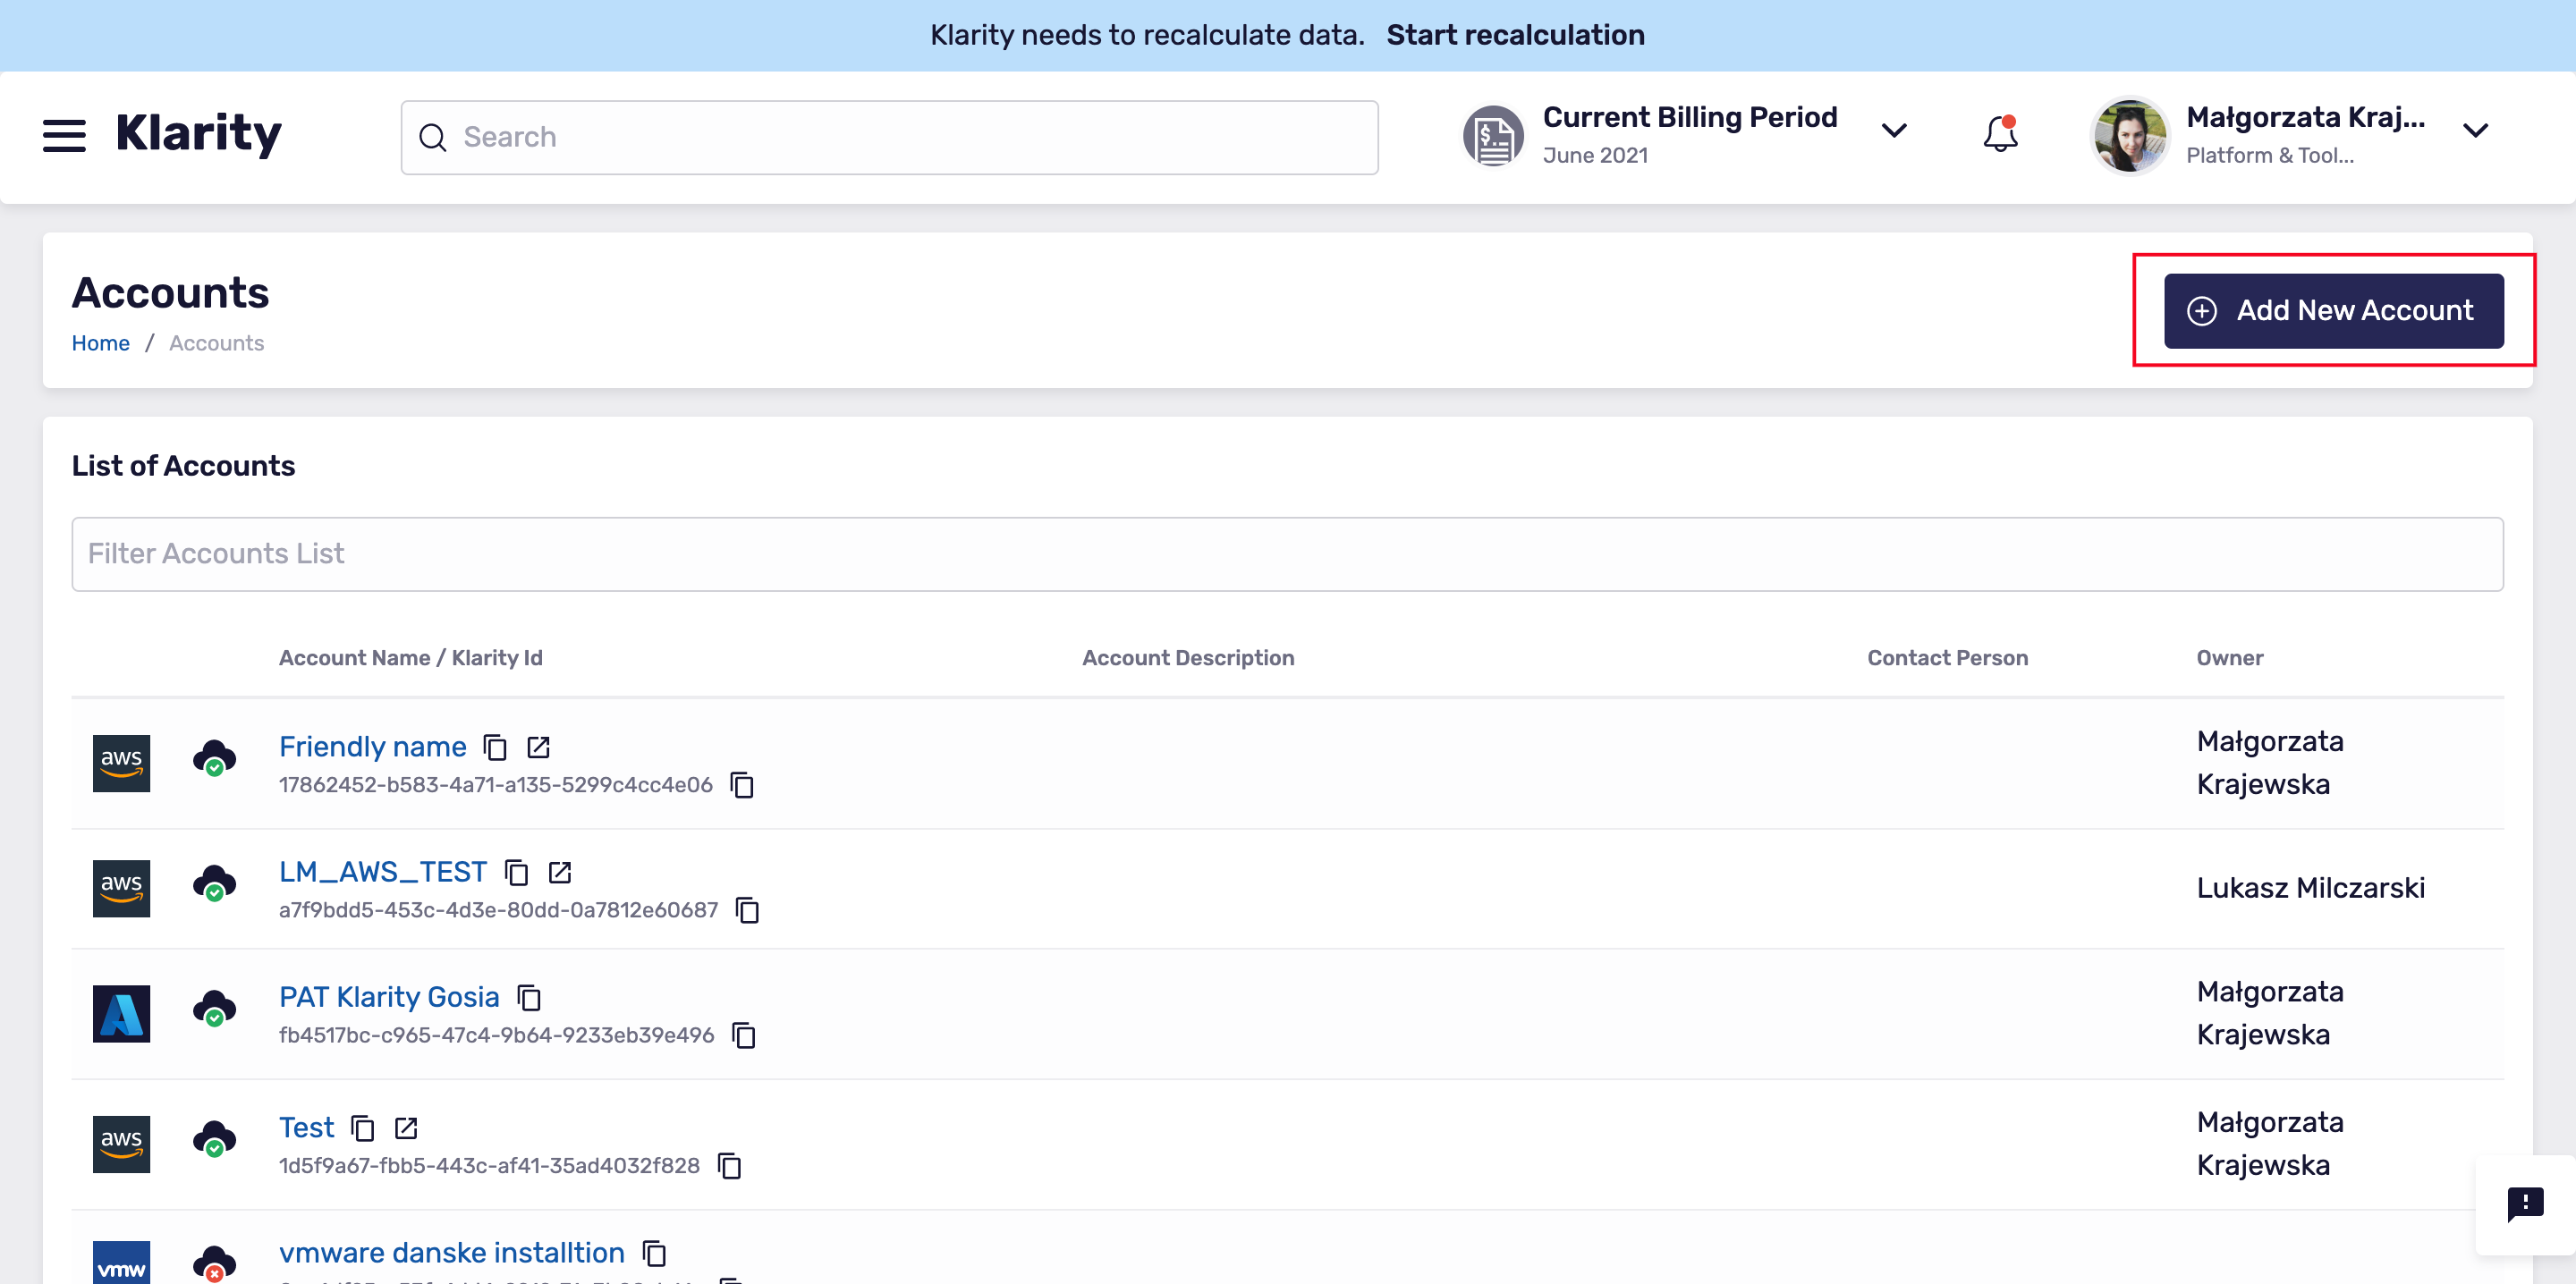
To add a Kubernetes cluster account to Klarity, go to
main, and then toAccounts.Click
Add New Account:
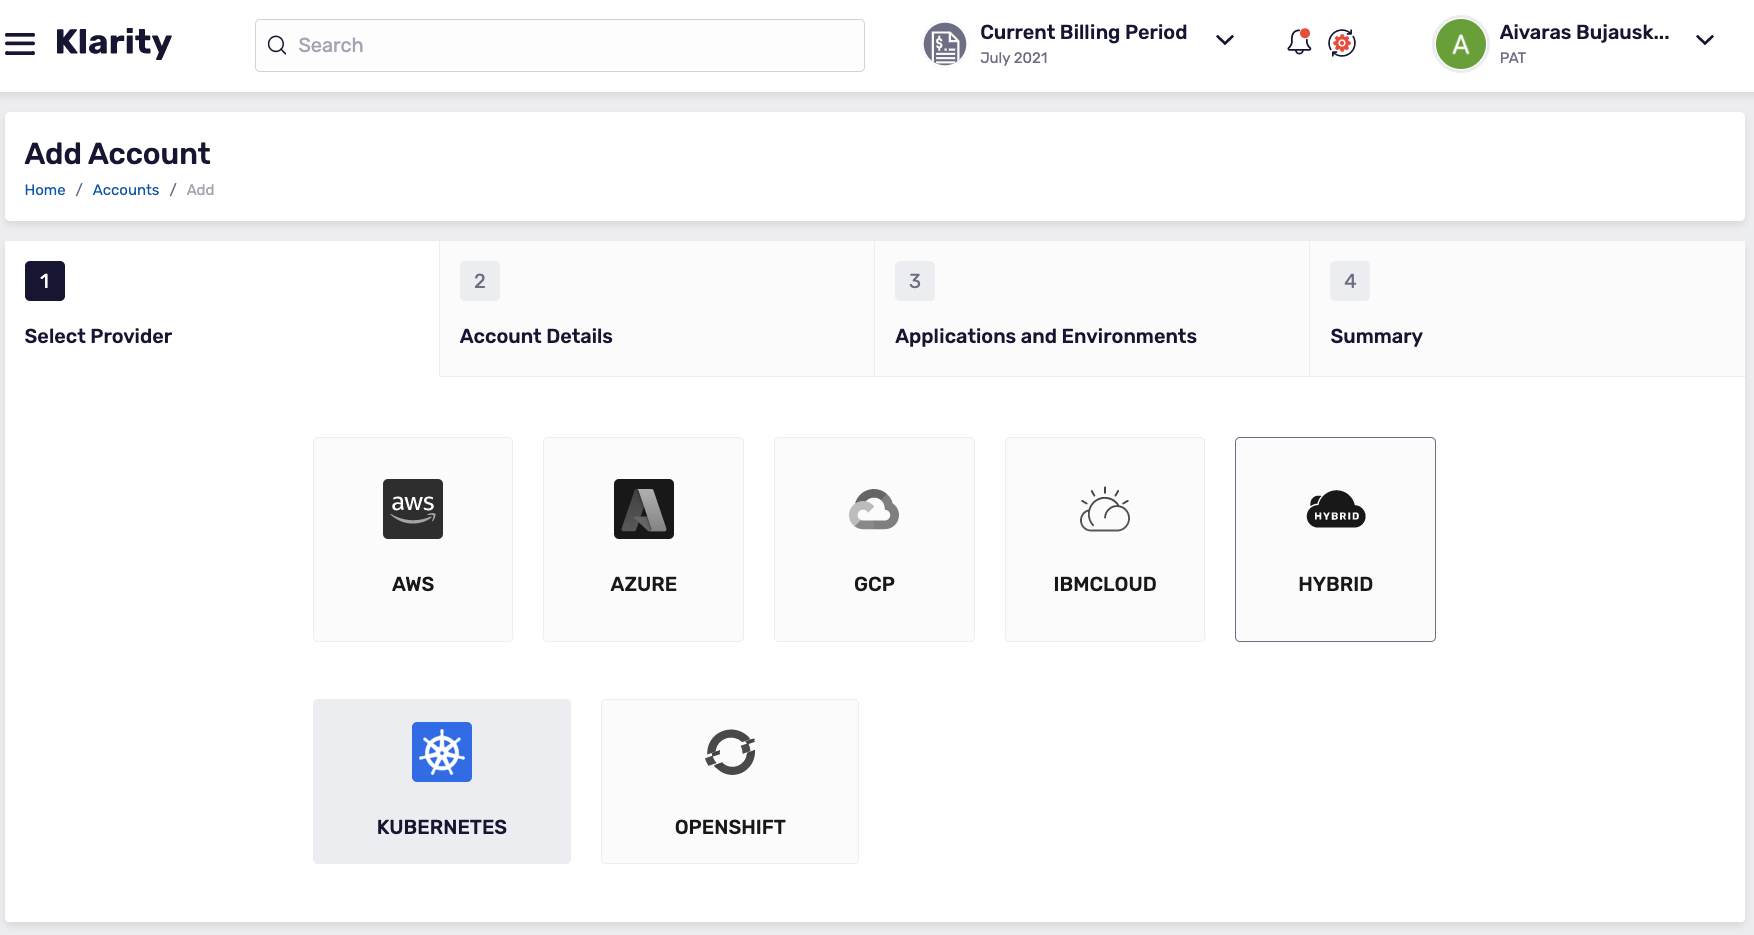
- To add a new cluster account, click
Hybrid, thenKubernetes:
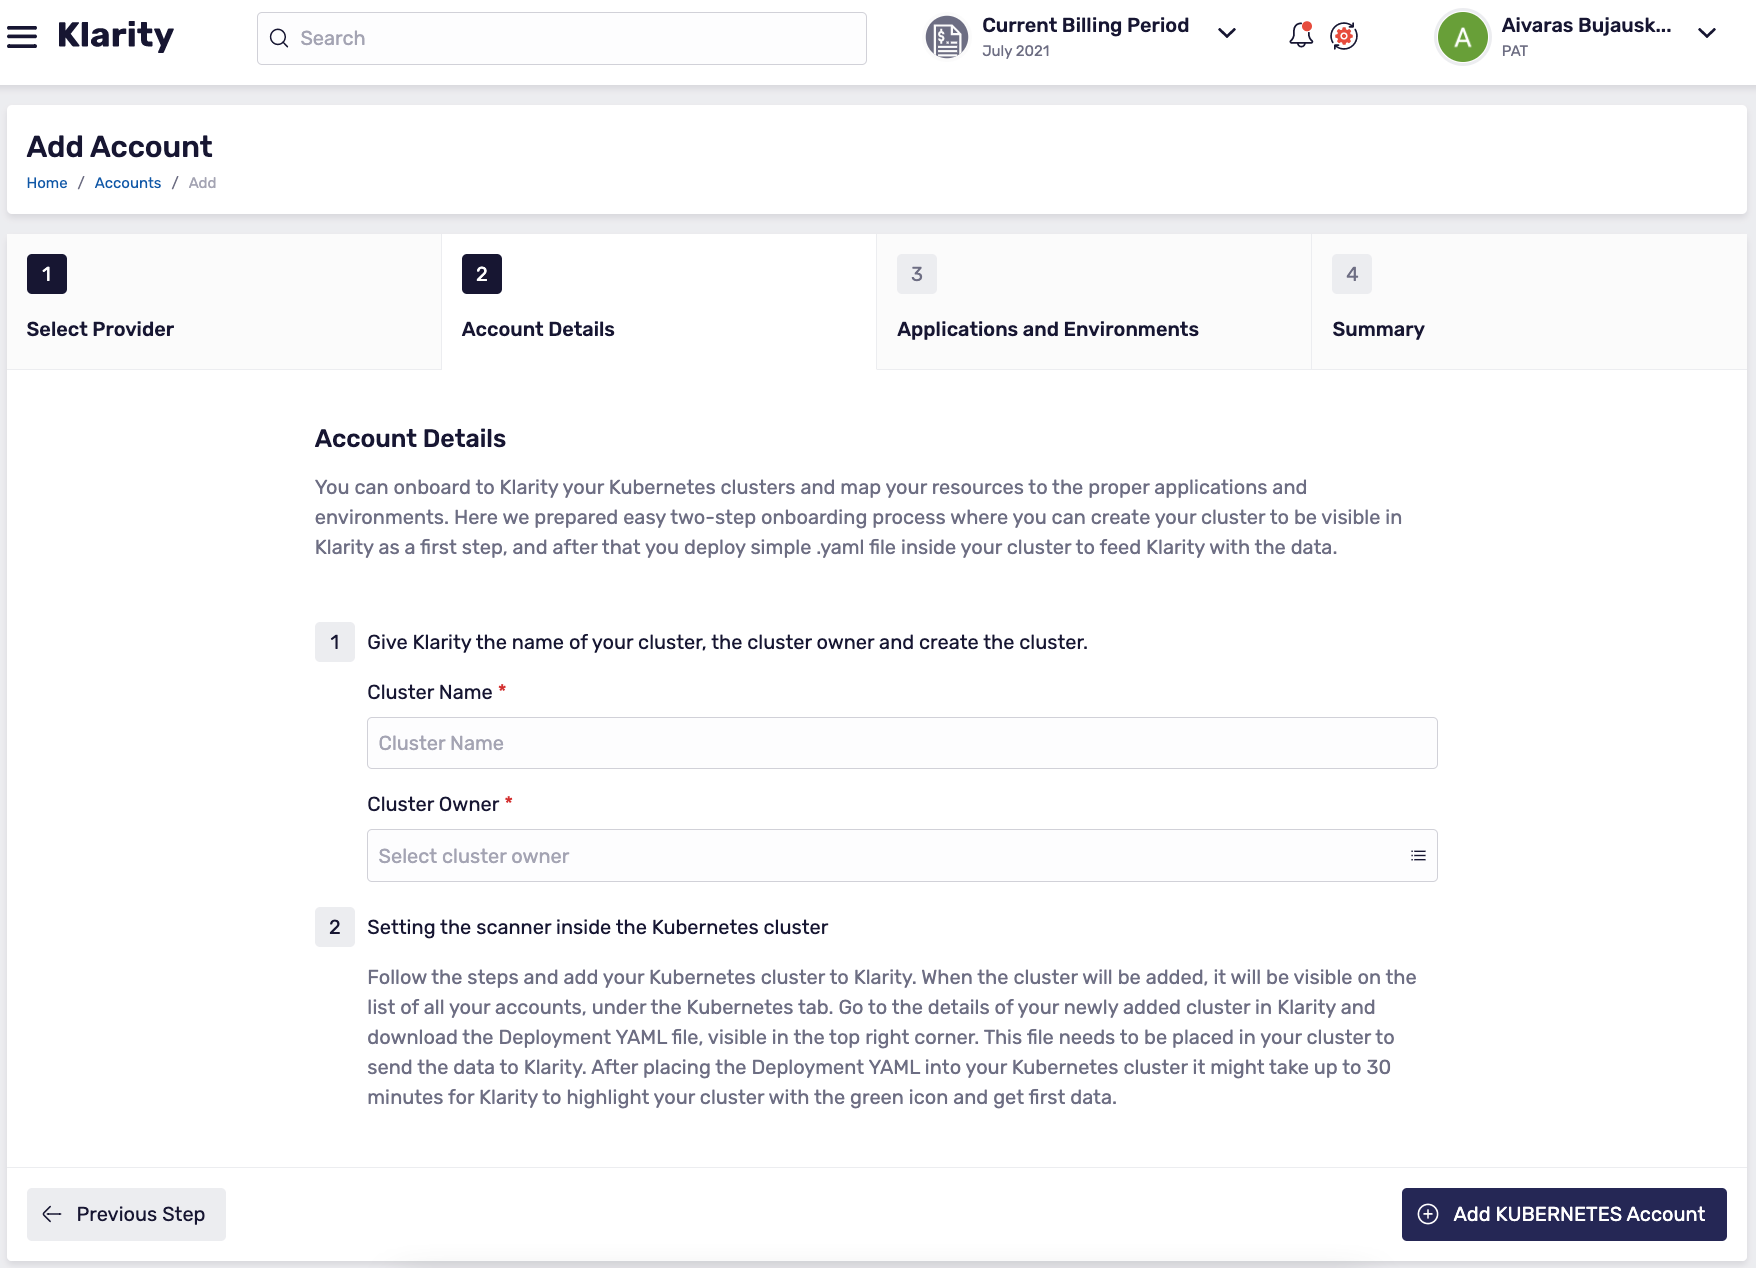
- Add the name of your cluster, the name of the cluster owner, and create the cluster account in Klarity:
Connecting the Scanner
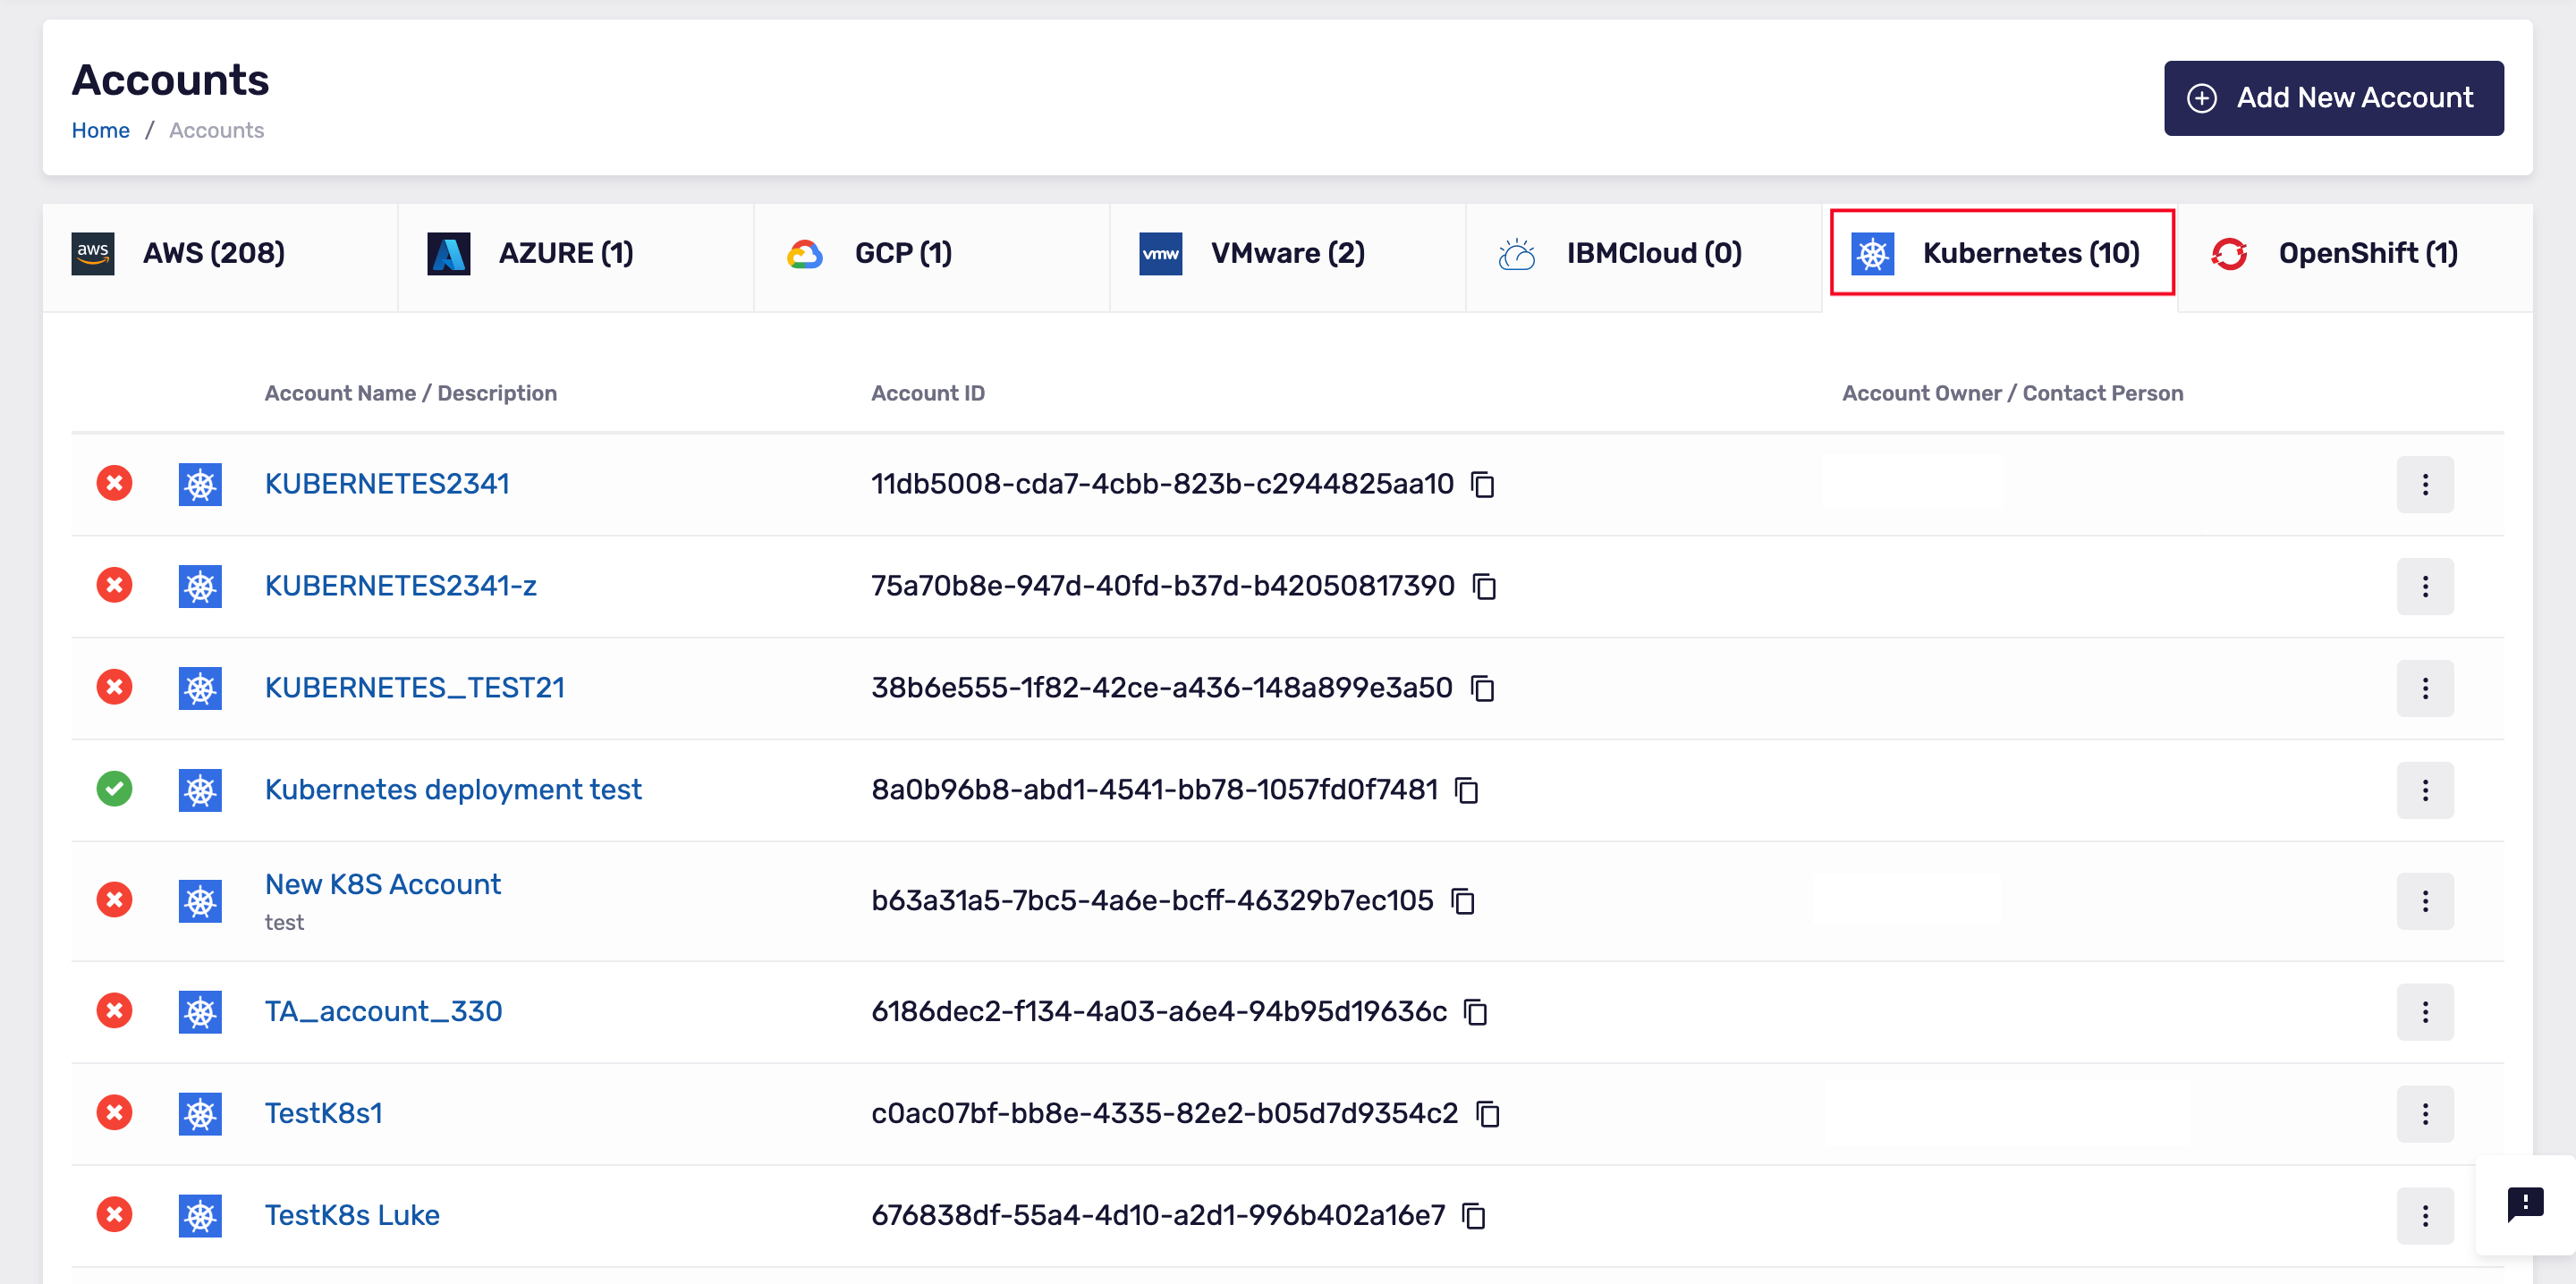
- When the cluster account is created in Klarity, under the Kubernetes tab, you can see the cluster in the list of all your accounts:
- In Klarity, go to the details view of the cluster that you have just added.
Now, download the
Deployment YAMLfile that you can see in the top-right:

- To feed data to Klarity, you must apply the relevant
Deployment YAMLfile to your Kubernetes cluster, or Openshift cluster.
Usage
After you have applied the YAML script to your Kubernetes cluster or OpenShift cluster, it can take up to 30 minutes for Klarity to connect to your cluster. When the new cluster account in Klarity is connected to your cluster, the cluster account has a green icon in Klarity's UI. This means that Klarity can start receiving data.
Updating the scanner
In order to update the scanner, the restart should be applied:
Configure Kubernetes Scanner to Use Existing Prometheus instance
Configuration
Modify the prometheus-endpoint property in the nordcloud-metrics-exporter-config-map config map (default namespace: nordcloud-scanner) and set your prometheus instance endpoint.
Clean Up
Remove prometheus resources (cluster role, cluster role binding, config map, deployment and service) that are no longer needed:
Costs
Automatic Kubernetes and OpenShift costs discovery
Klarity will automatically discover and map your cloud resources (Azure and AWS VM’s) to corresponding Kubernetes and OpenShift nodes. As an outcome you will be able to see the costs of your Kubernetes and OpenShift nodes with no manual effort. When Klarity knows the costs of the nodes, pods costs are automatically calculated based on CPU and Memory usage.
Automatic Kubernetes and OpenShift costs discovery does not work currently with GCP . To map GCP resources to the corresponding Kubernetes nodes please use manual assignment as described in the next point of the documentation.
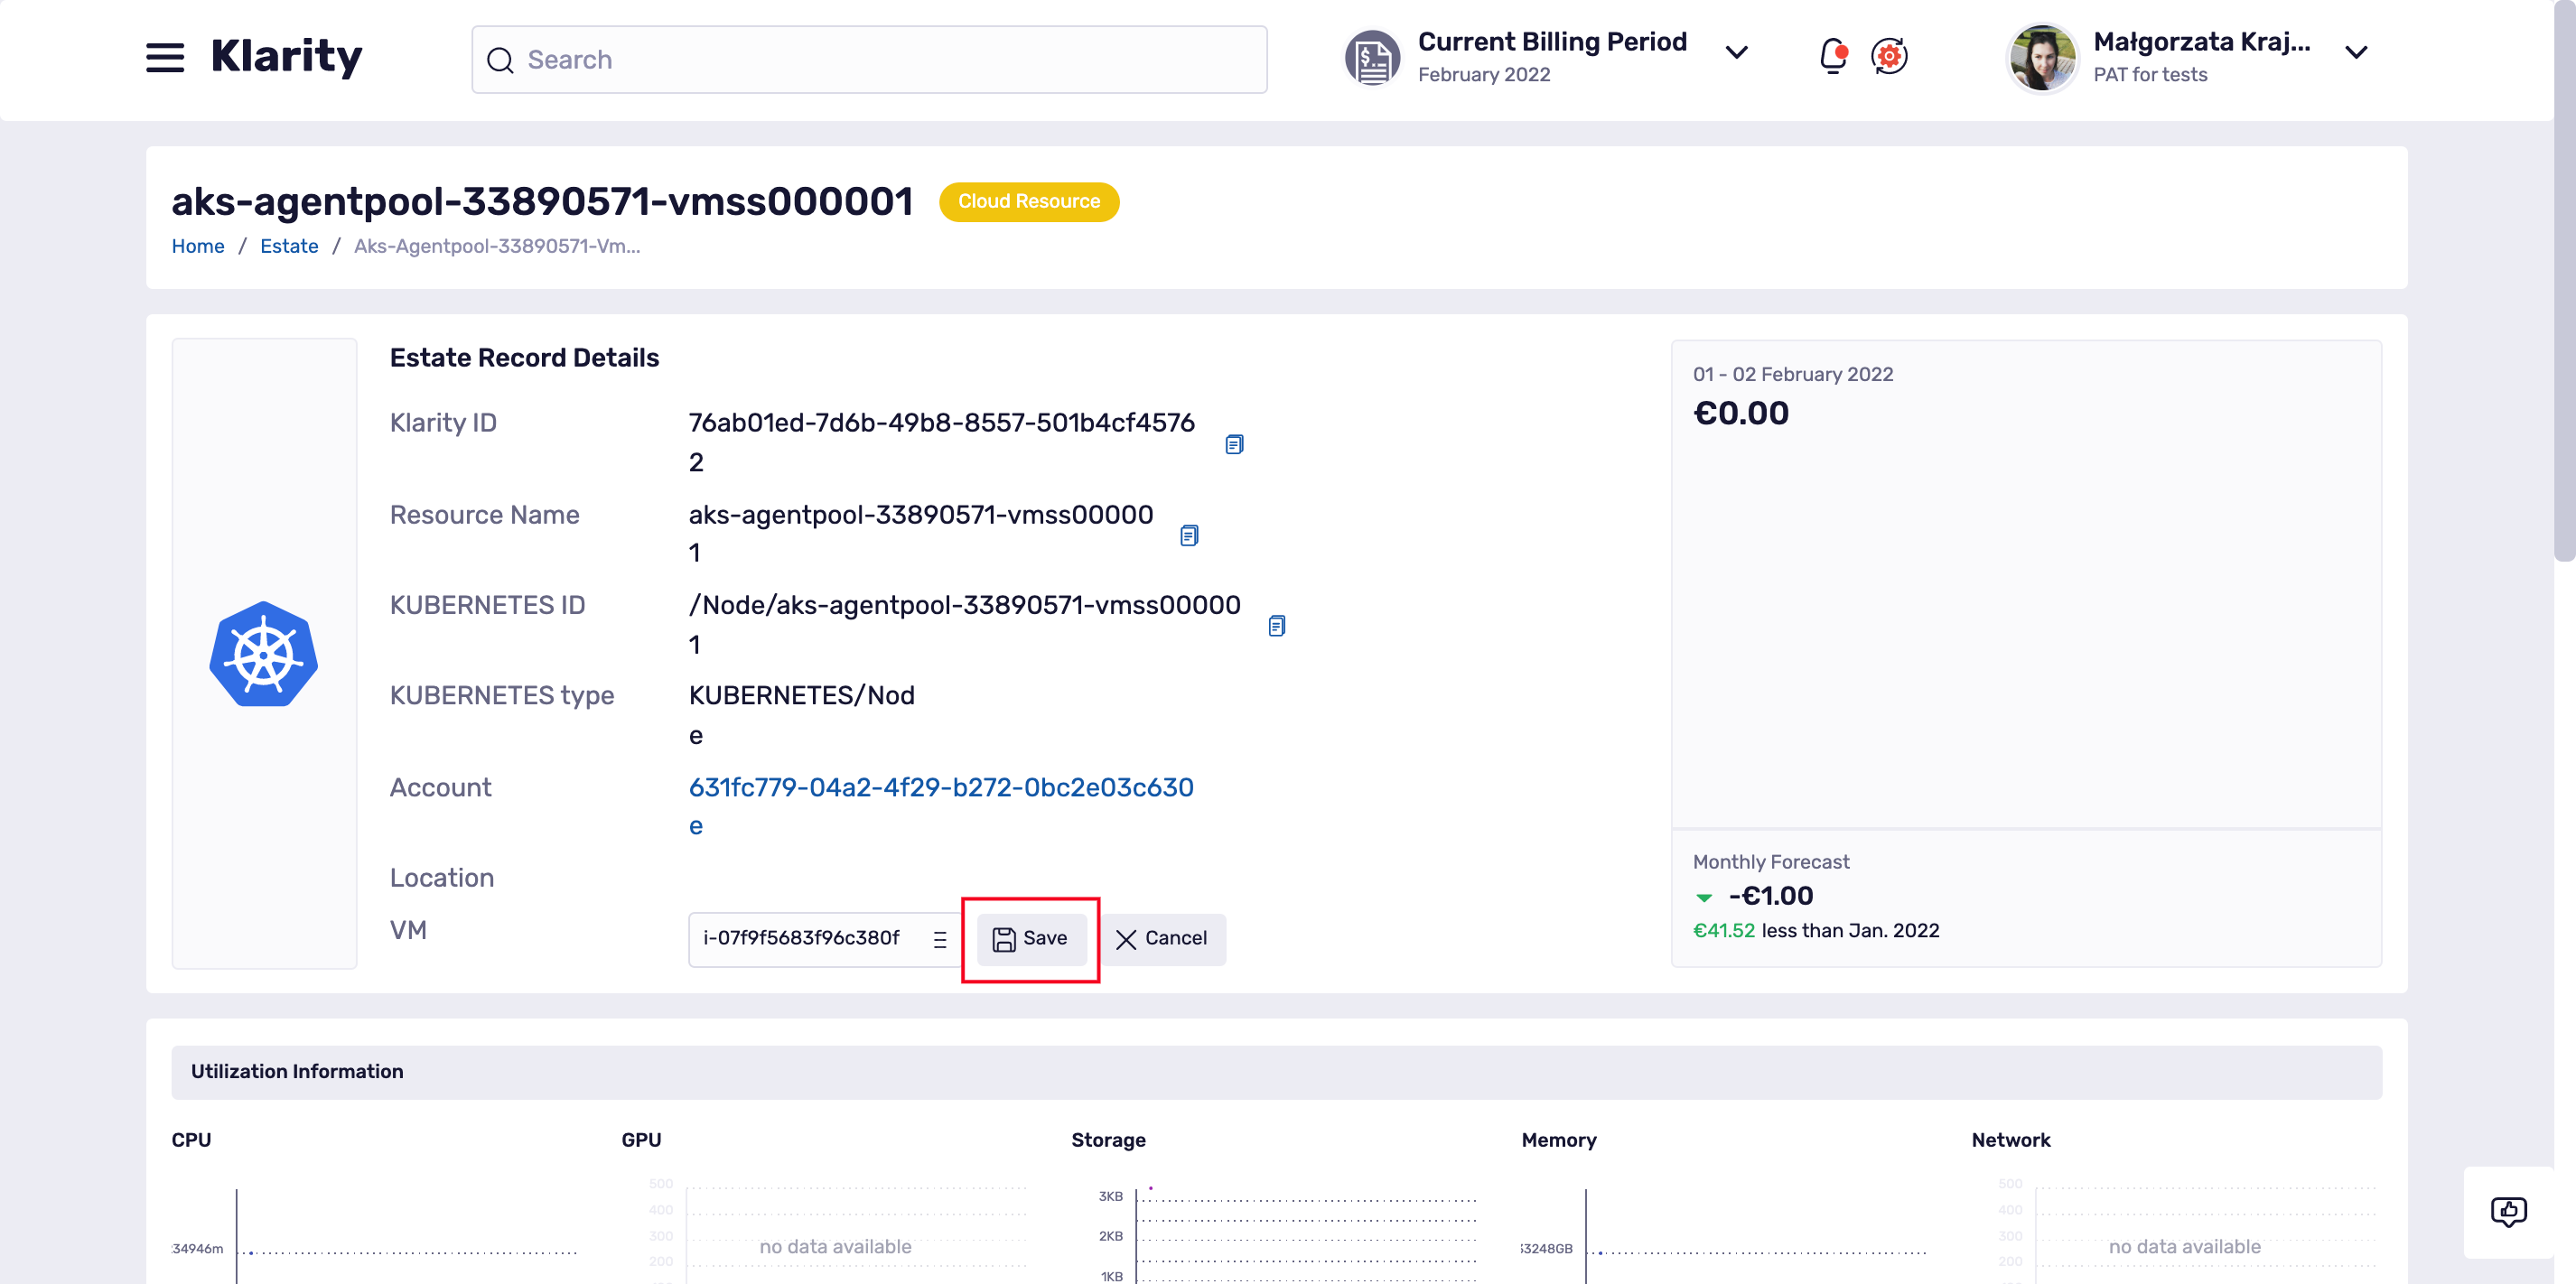
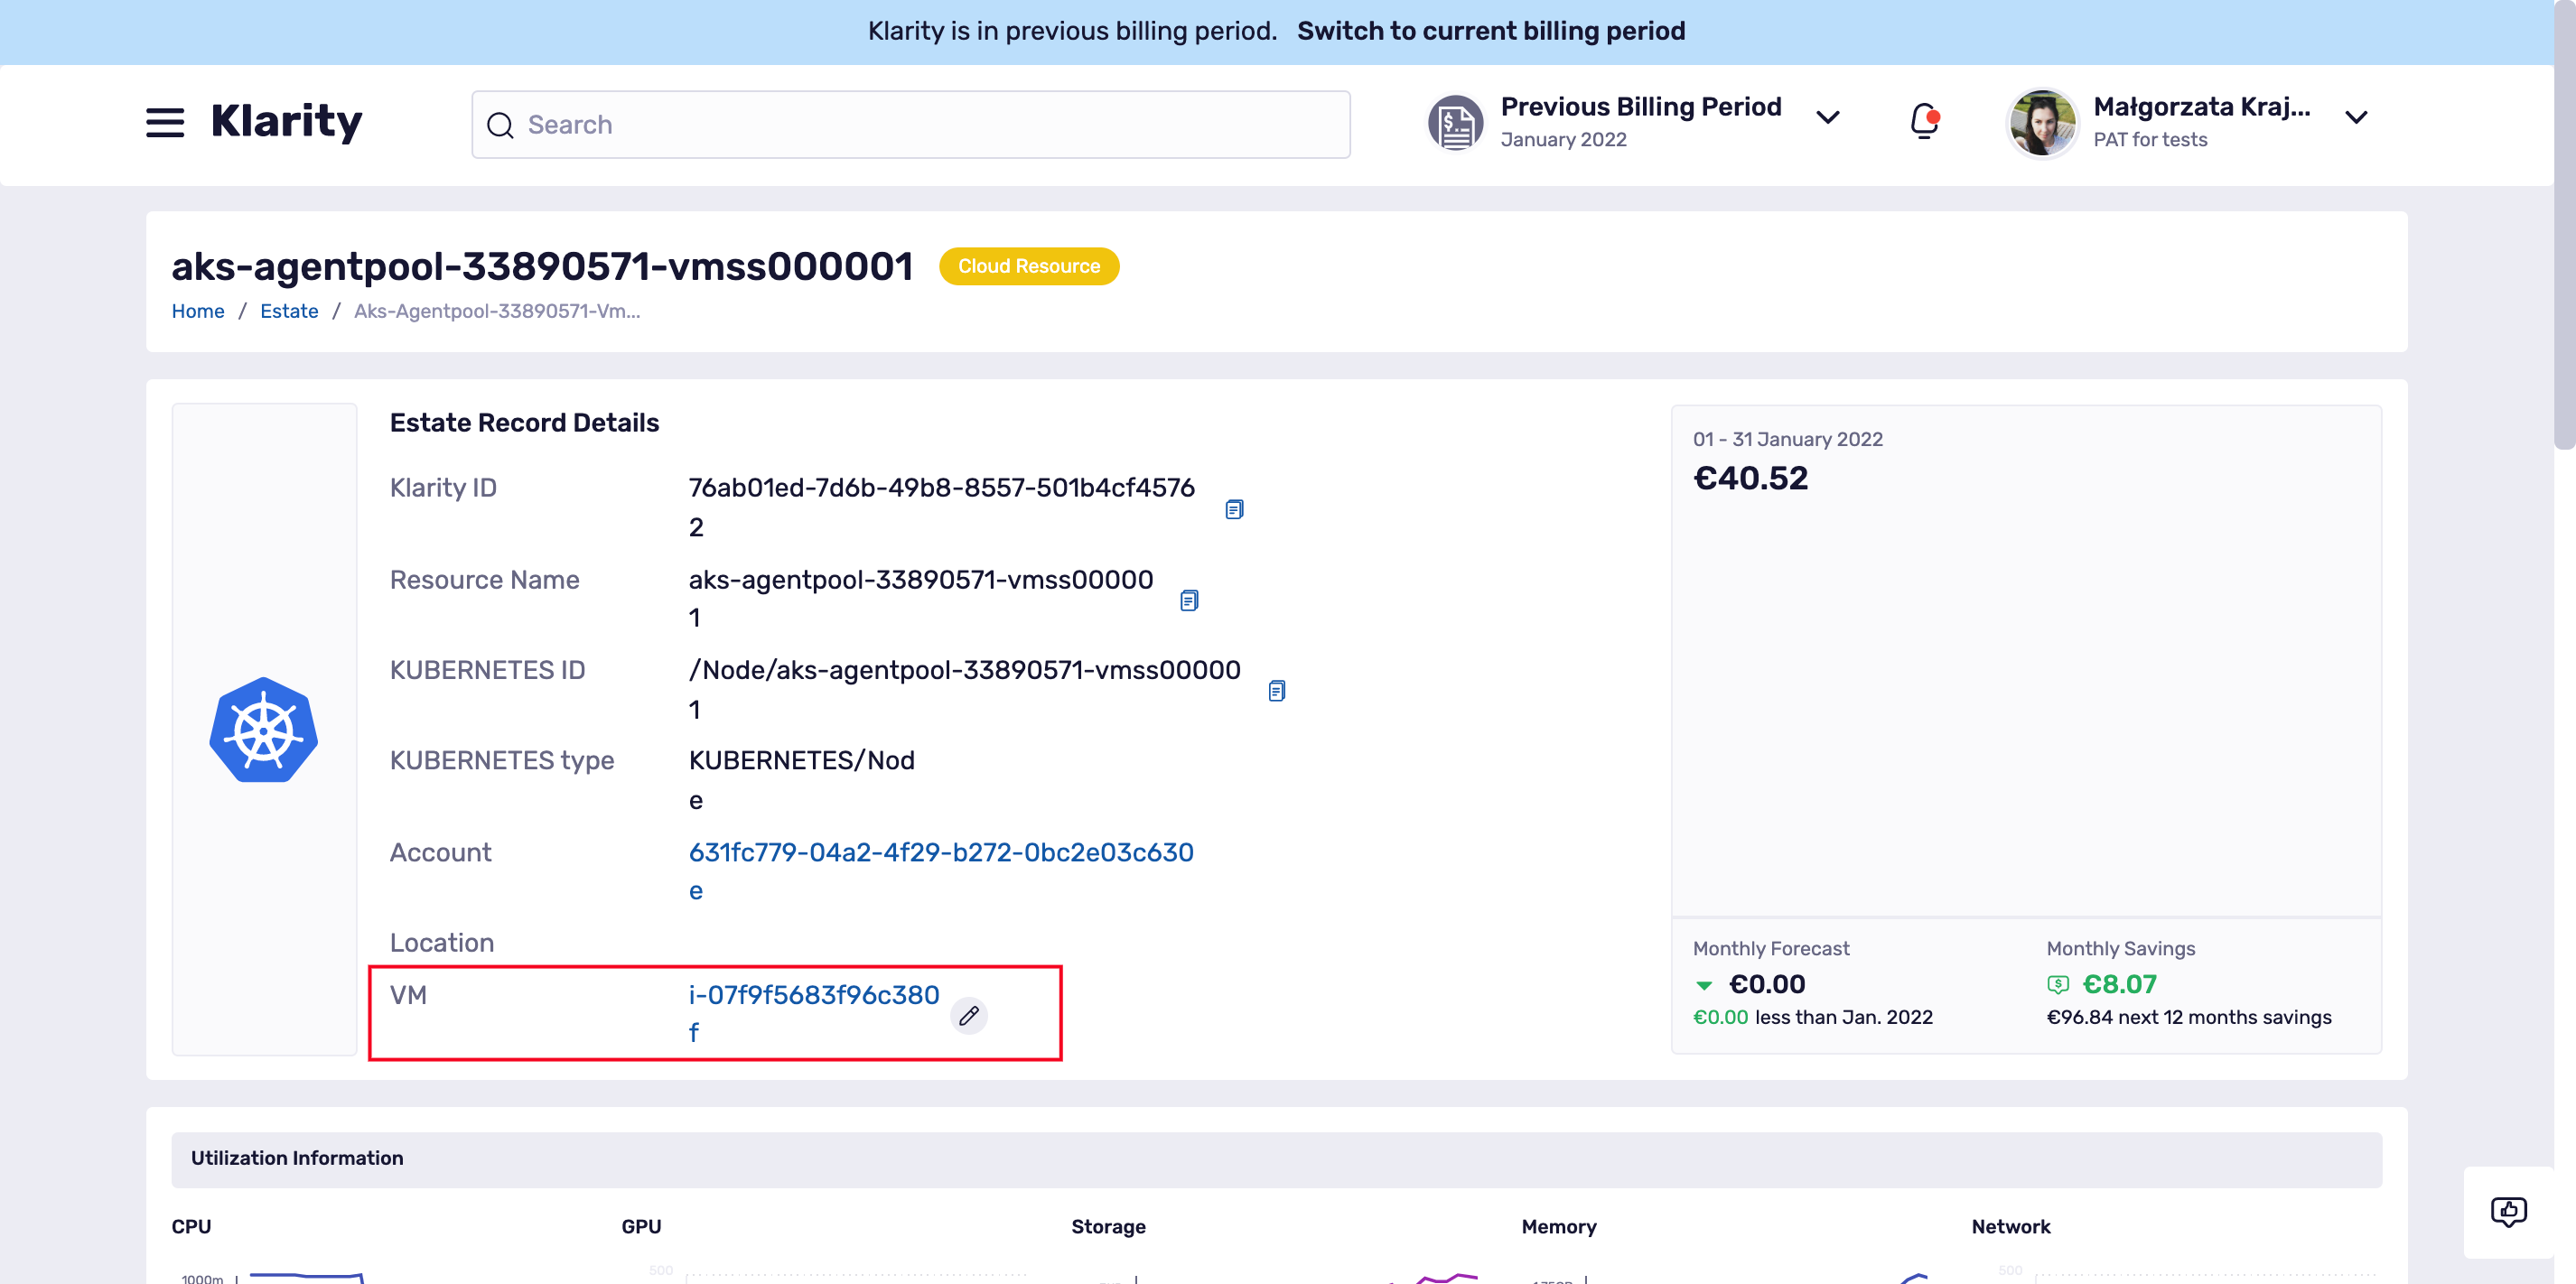
To check if the matching between cloud resources (Azure and AWS VM’s) and Kubernetes/OpenShift nodes were found you can simply go to the node details and check if the VM position is filled in:
Manual Kubernetes and OpenShift costs assignment
When Klarity can not find the cloud resources that are matching your nodes, there is a possibility to make the manual assignment.
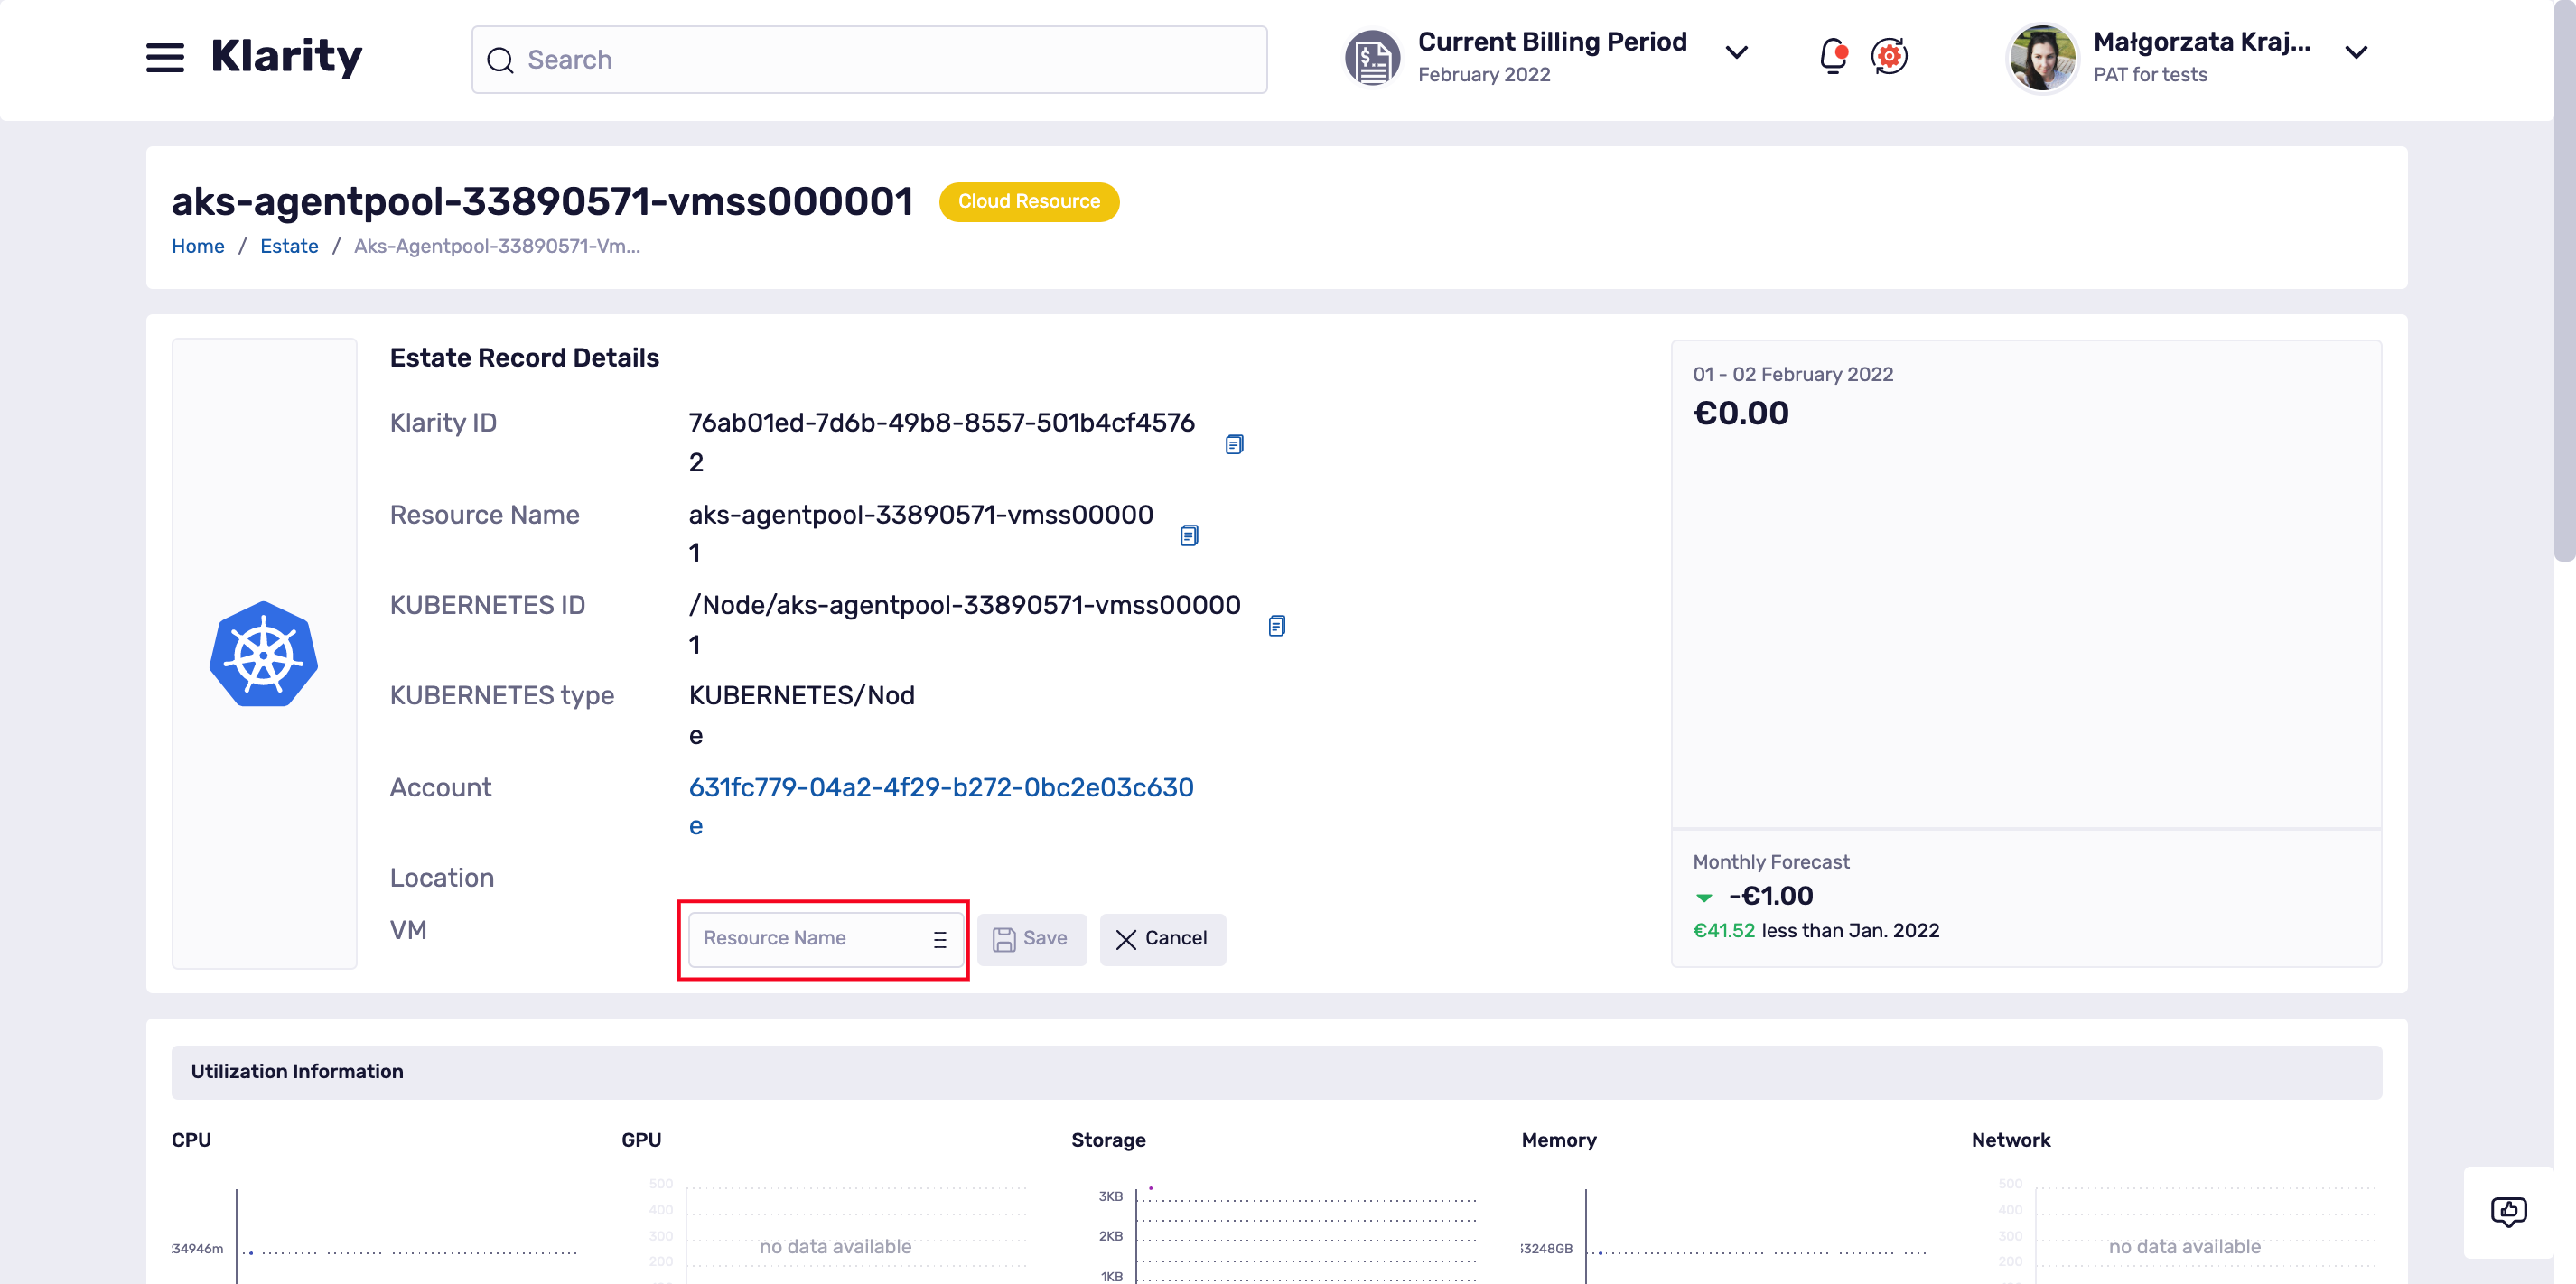
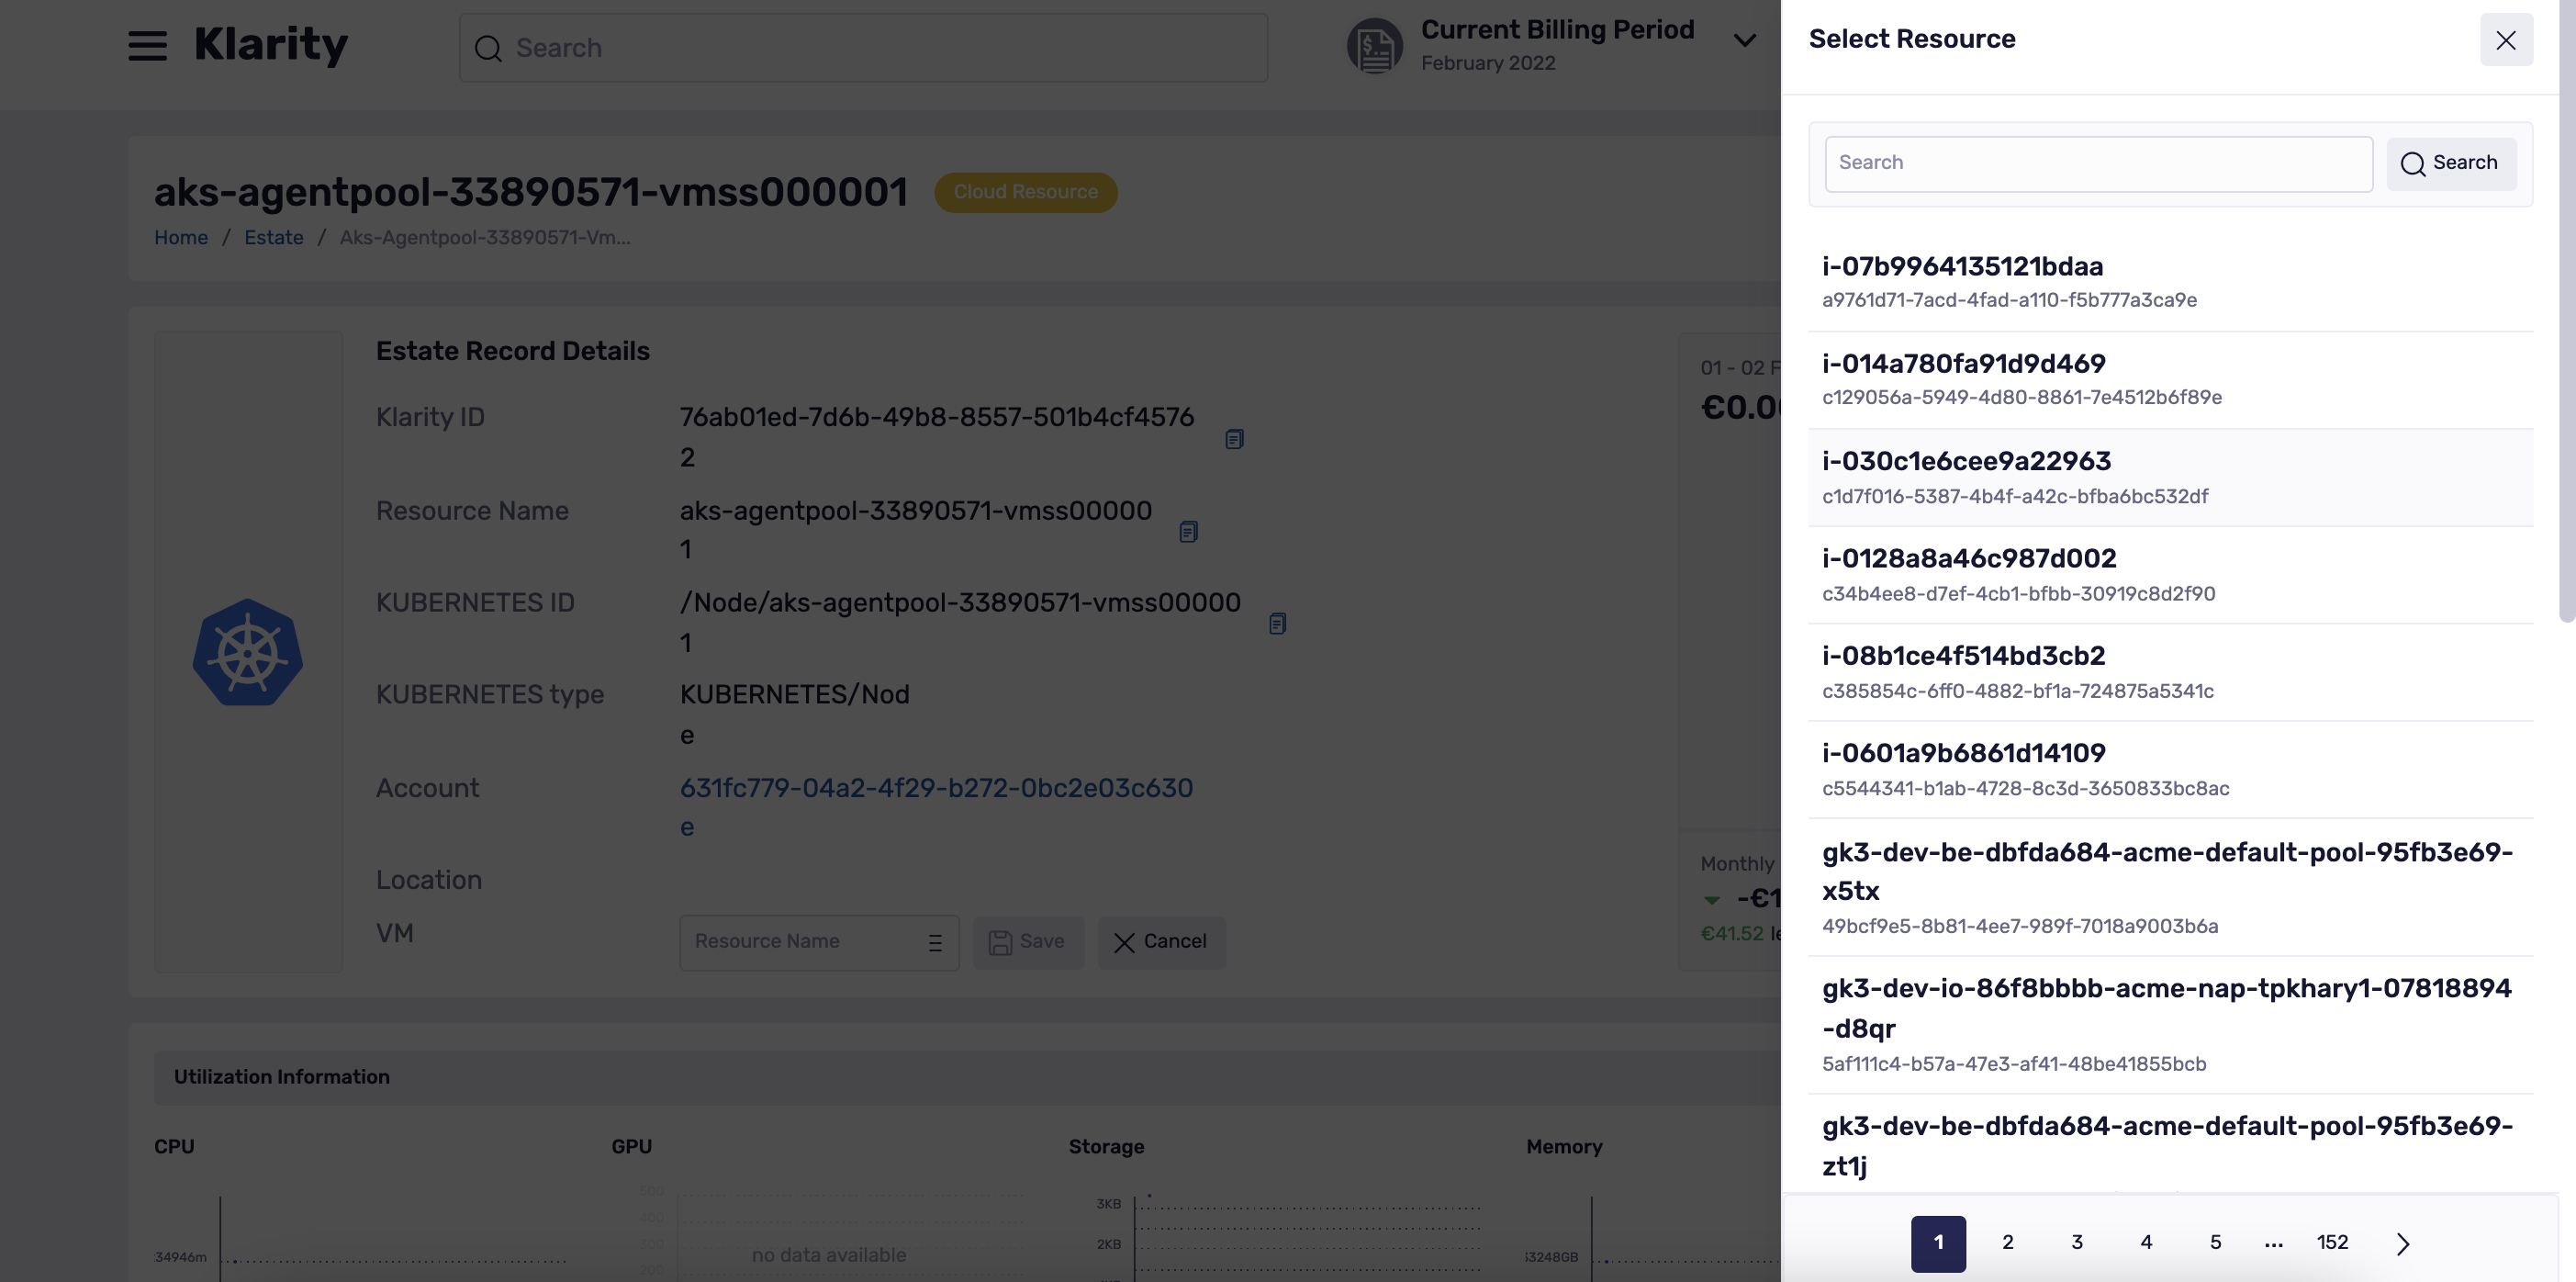
To do that please go to the details of your Kubernetes/OpenShift node and scroll a bit down to the VM position:
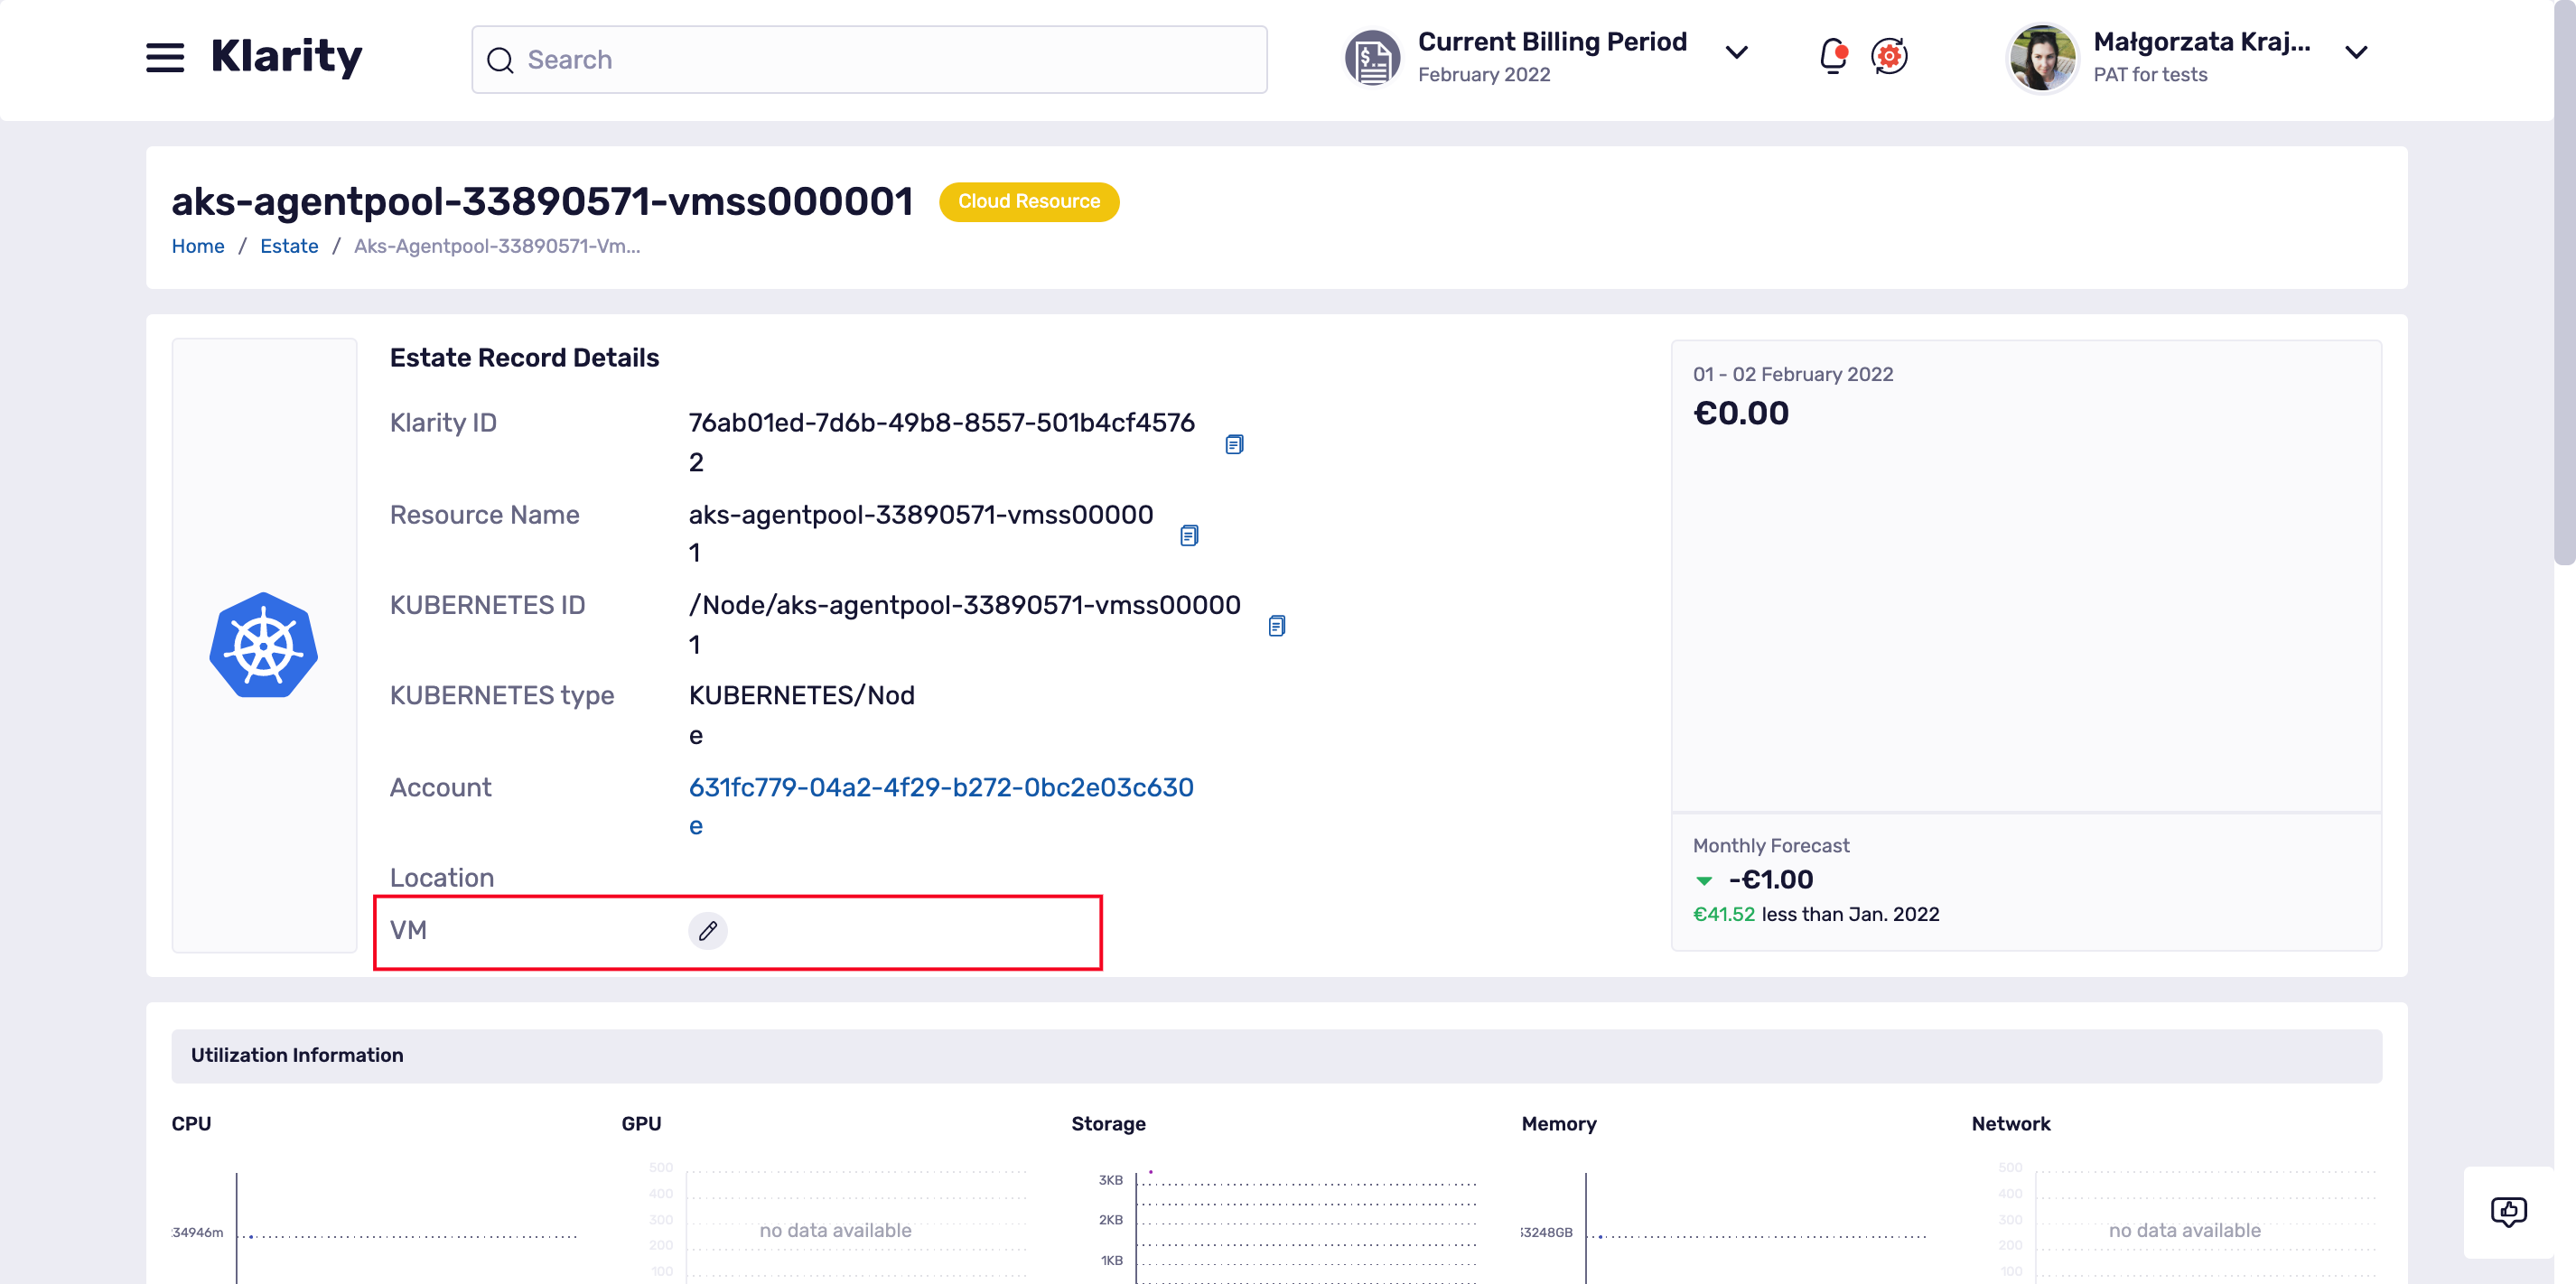
If Klarity found no match, the VM field will be empty but you an easily fill it in using the pencil icon: