Page Sections
Introduction
Workflows are an essential part of your cloud estate. You can use workflows to create different notifications about budgets, costs, KPIs, new unallocated resources, savings suggestions, and anomaly costs
To get to the workflows page, go to the left menu, hover over Settings, and click Workflows.
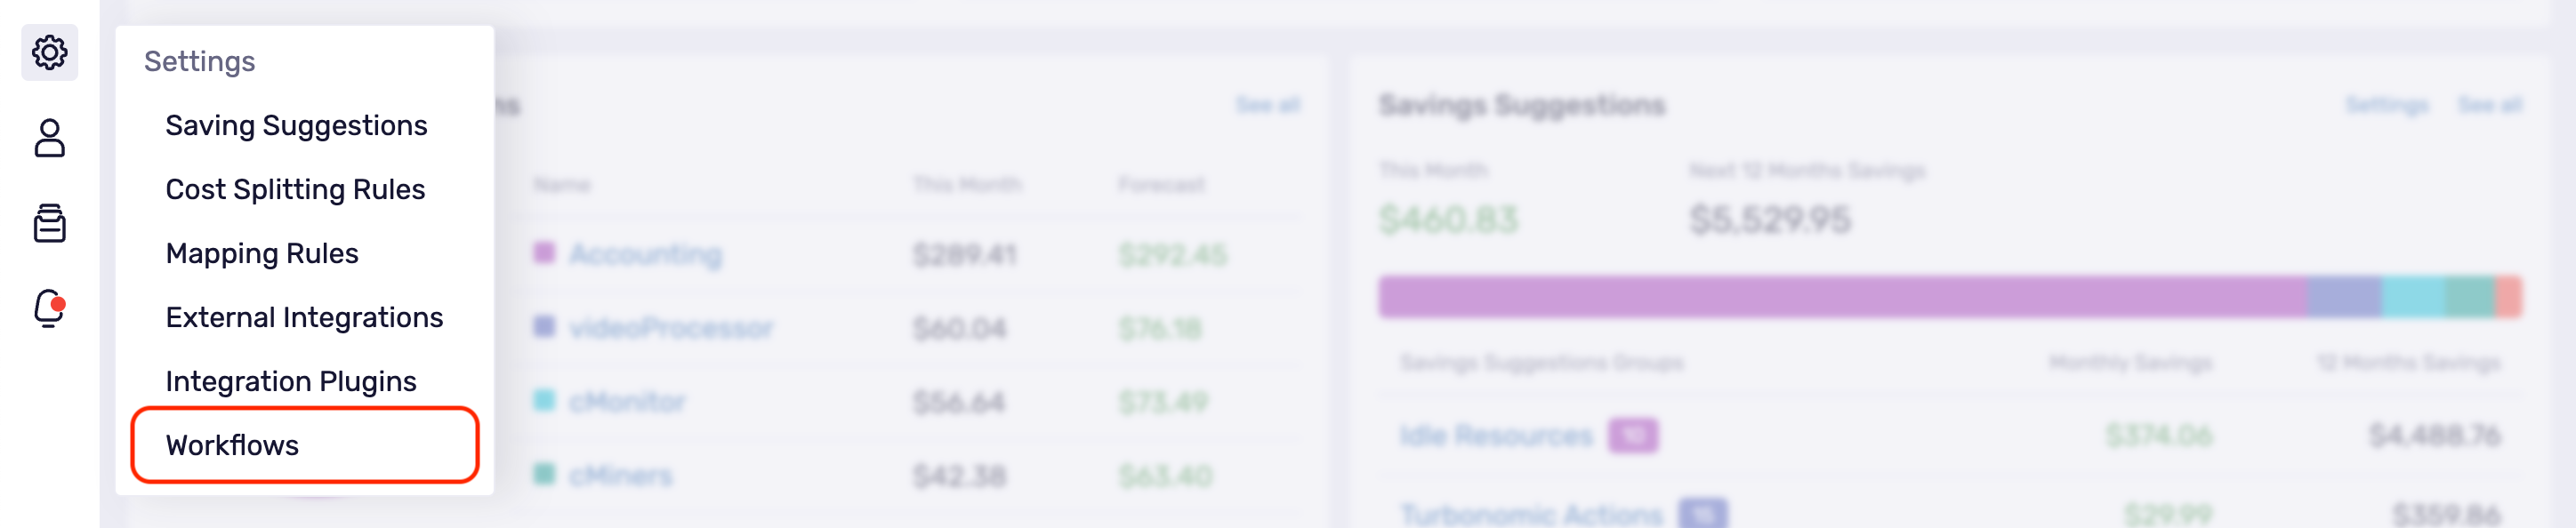
On the workflows page, you will see an Add new Workflow button in the top-right corner. This is where you create new workflows.

Next, you will see a list of All workflows and workflow History.
All Workflows
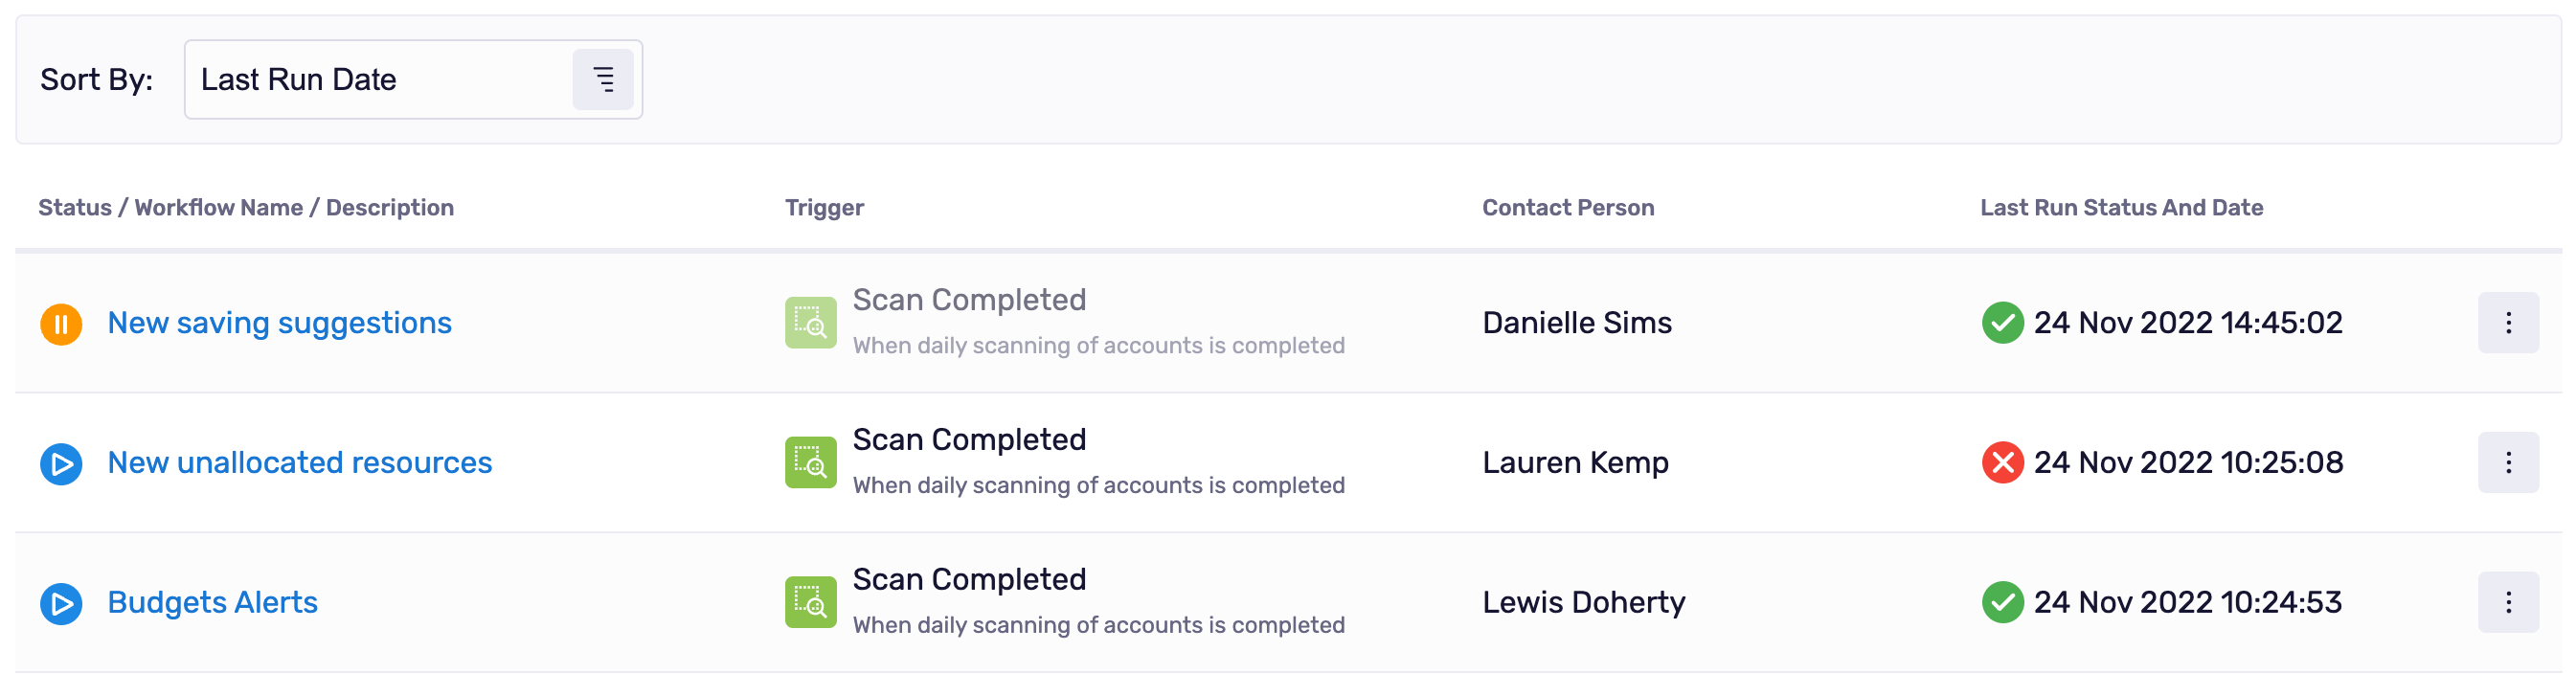
Klarity lets you have unlimited workflows which you can create manually. First, you can see a list of active or inactive workflow statuses. Next, you can view the workflow's name, trigger, contact person, and last run status. Clicking the workflow's name takes you to the workflow details page. This is where you can learn more about the workflow and make changes to the whole workflow process.
By clicking on the three-dot menu on the right. You can do the following to each workflow:
- Force Run: This functionality will start the workflow immediately, and you will not need to wait for automatic triggers.
- Deactivate Workflow: If you don't need a workflow, you can deactivate it. In that case, the triggers will not work, and notifications will not be sent.
- Clone Workflow: You can easily duplicate a workflow by clicking on Clone Workflow. The new workflow will be deactivated, so you need to activate it.
- Delete: This deletes the workflow.
History
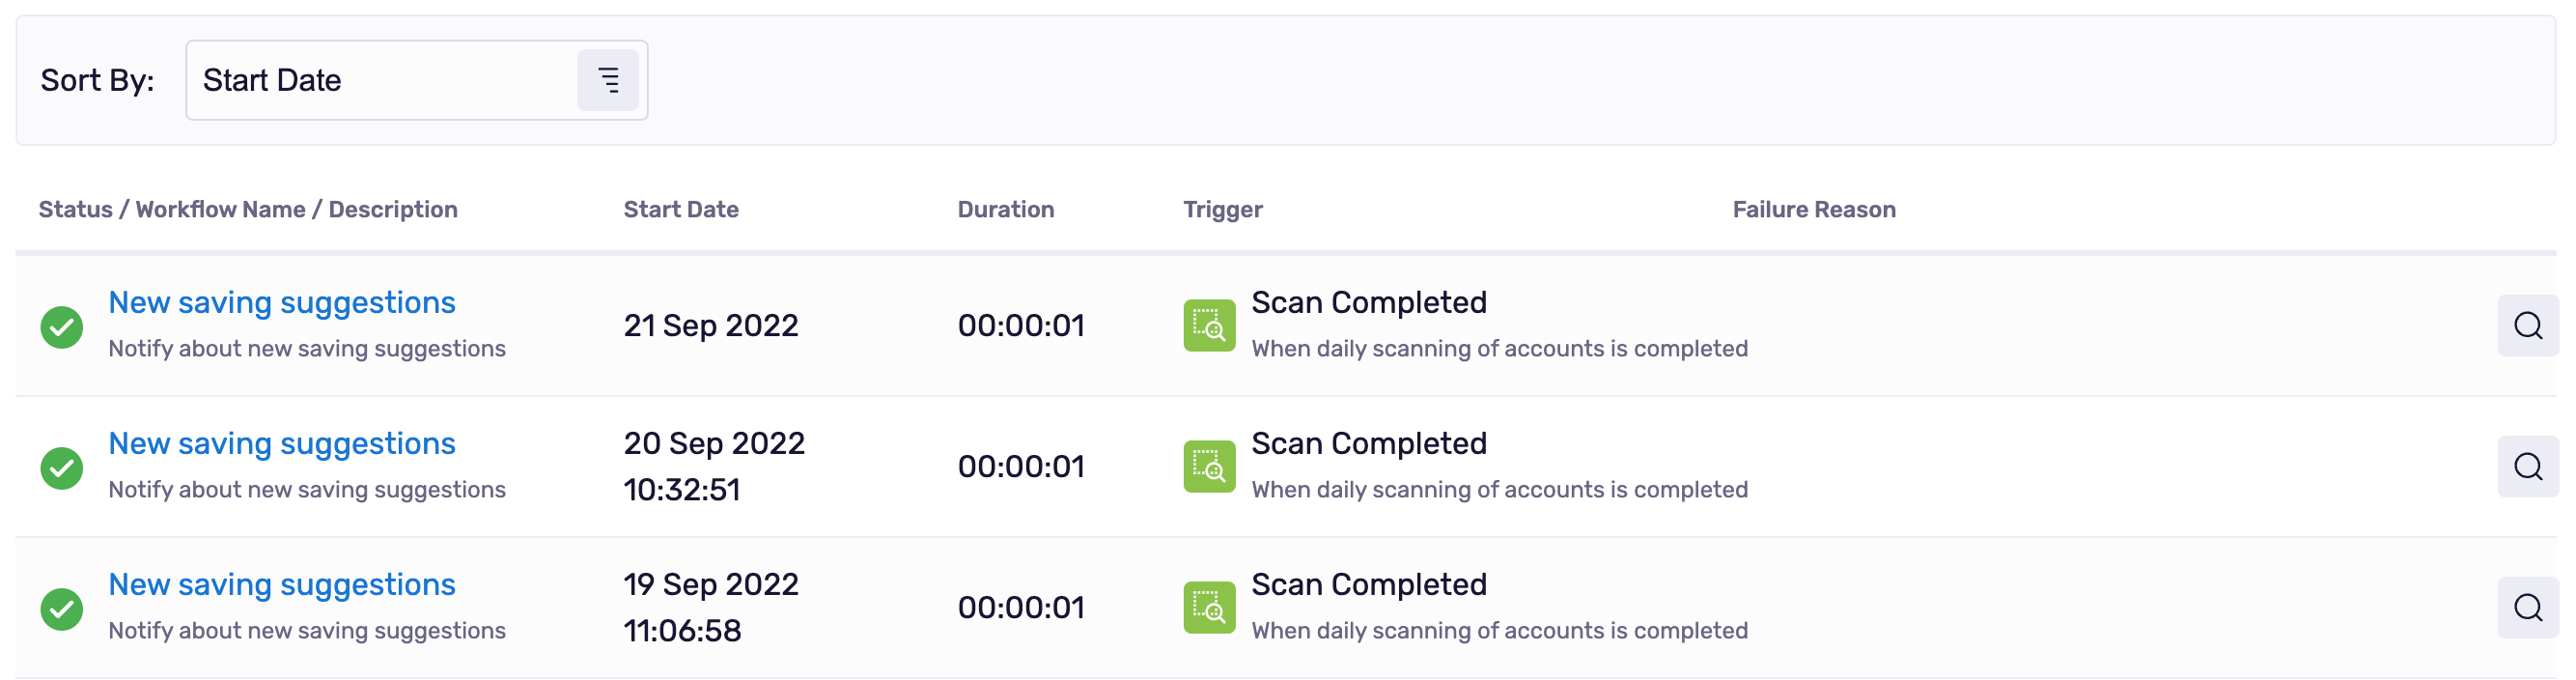
Klarity shows you all the completed workflows, whether successful or not. By clicking on the icon on the right, you can see a detailed workflow result of each workflow.
Edit this page on GitHub