Page Sections
In Klarity, by using Mapping Rules, you can onboard your applications and environments automatically, based on tags that you define. For each tag, you define a Key and a Value. The value of each tag is either an application name, or an environment name.
Typically, tags are set at the resources level, but you may want to propagate them from higher levels like Azure Subscriptions, Resource Groups and GCP Projects. For more information please refer to Propagating tags.
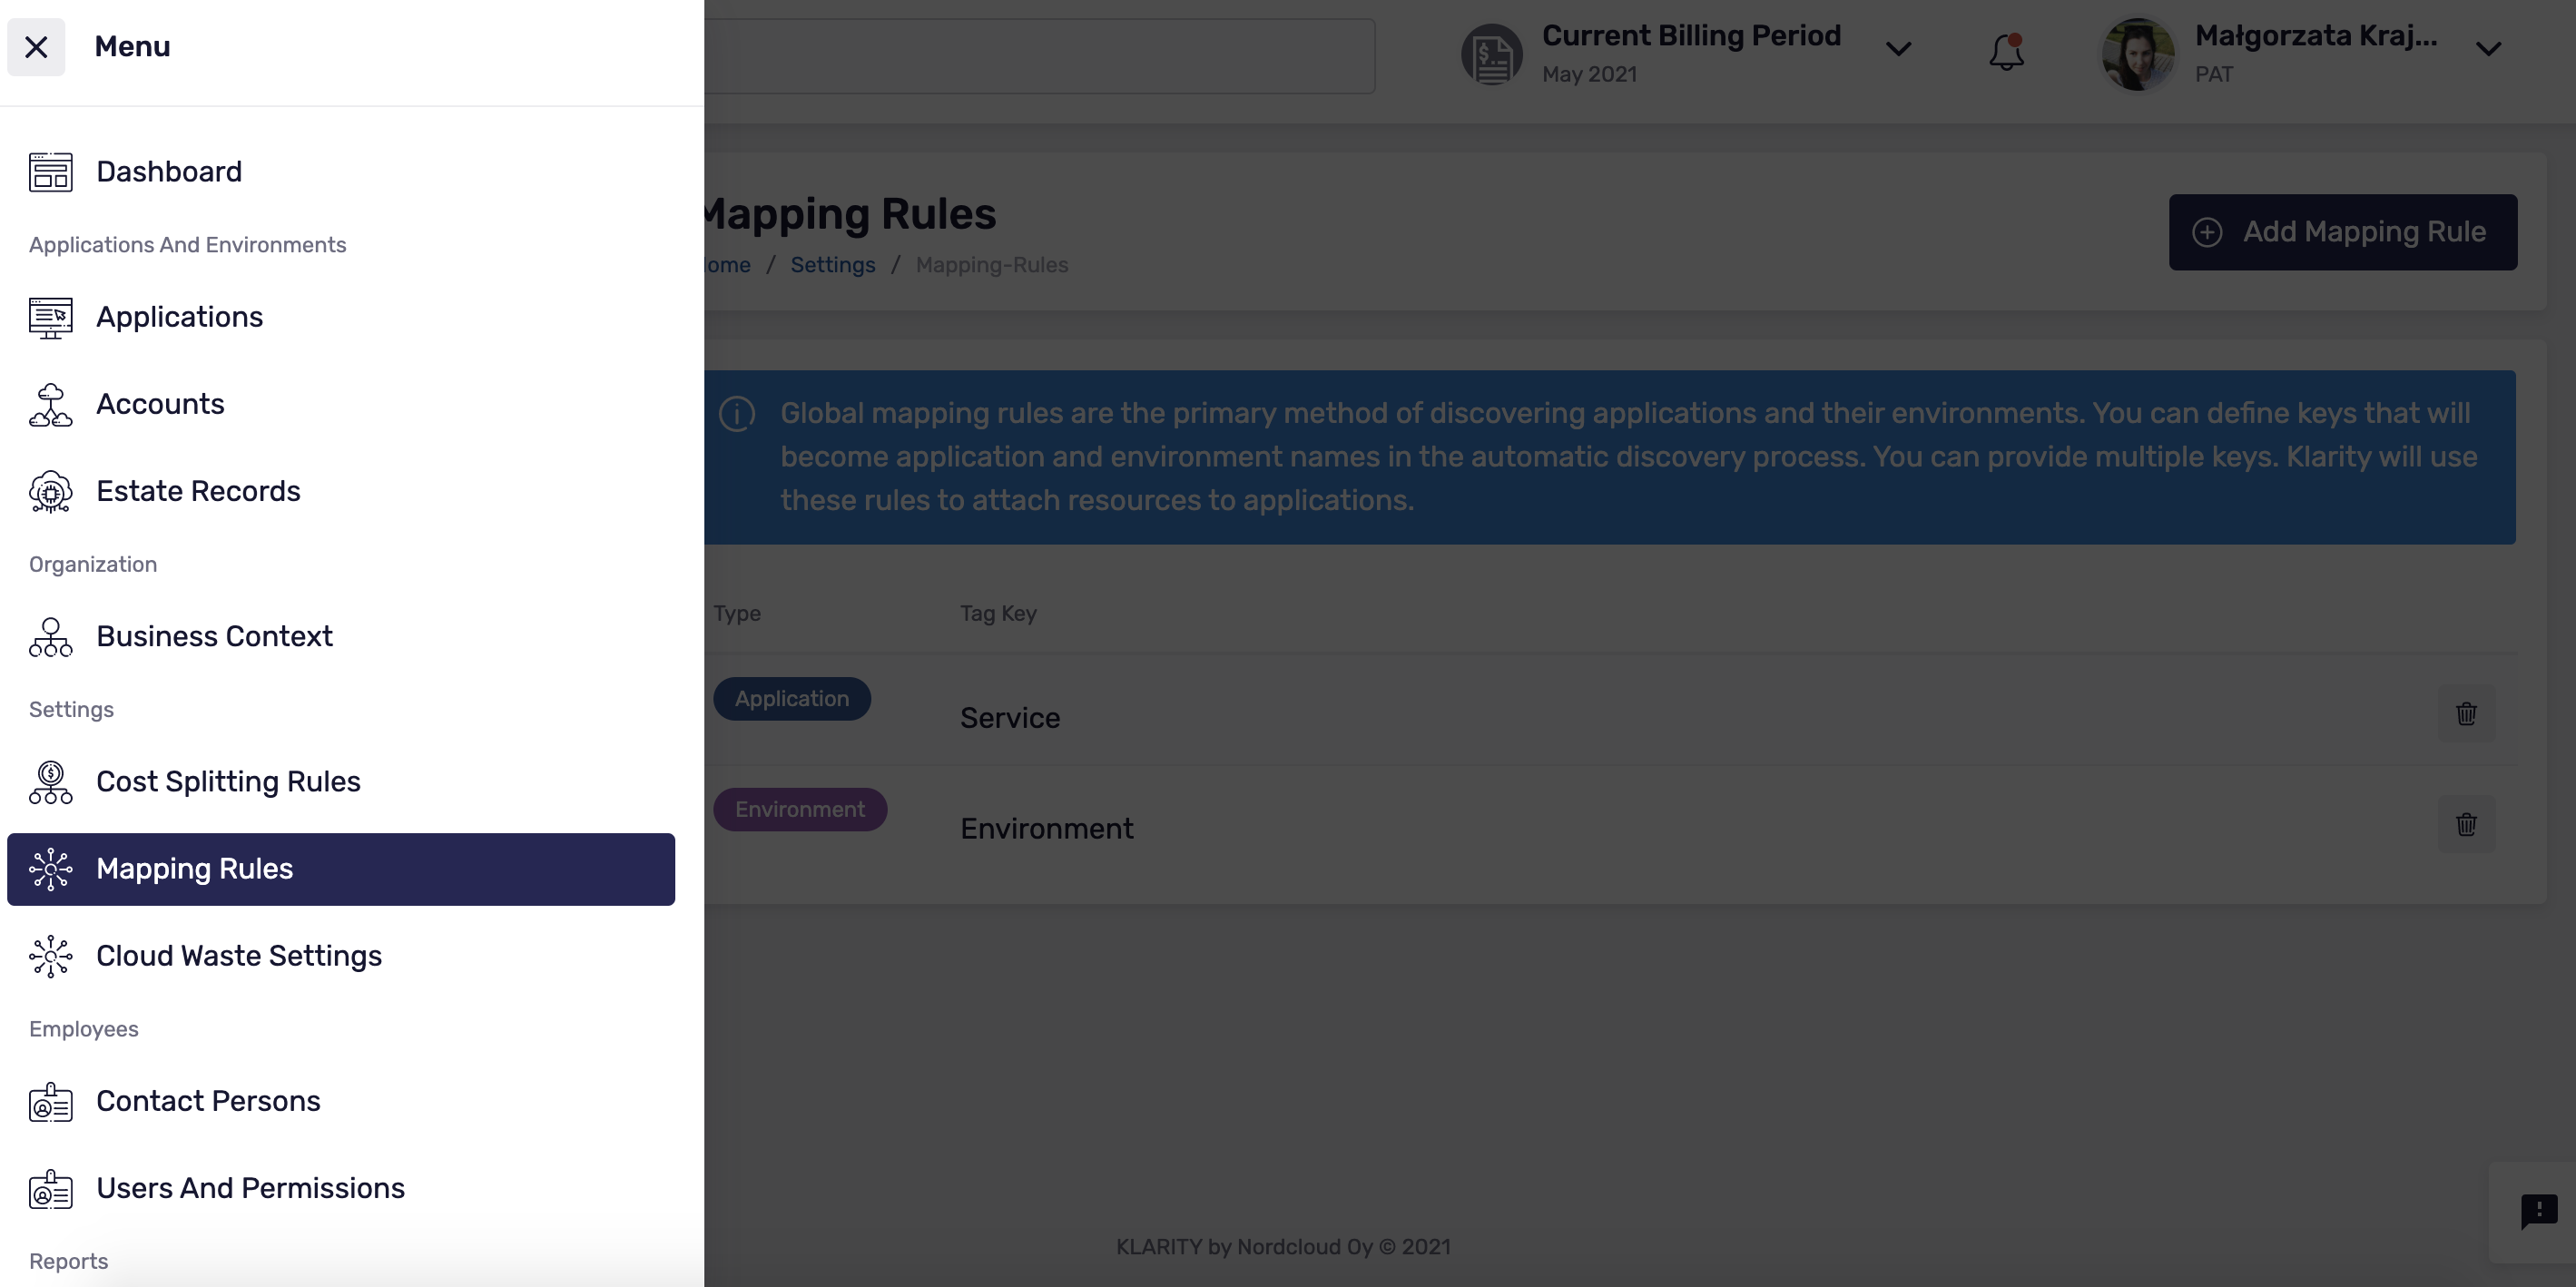
In Menu, go to Mapping Rules:
Add new Mapping Rule
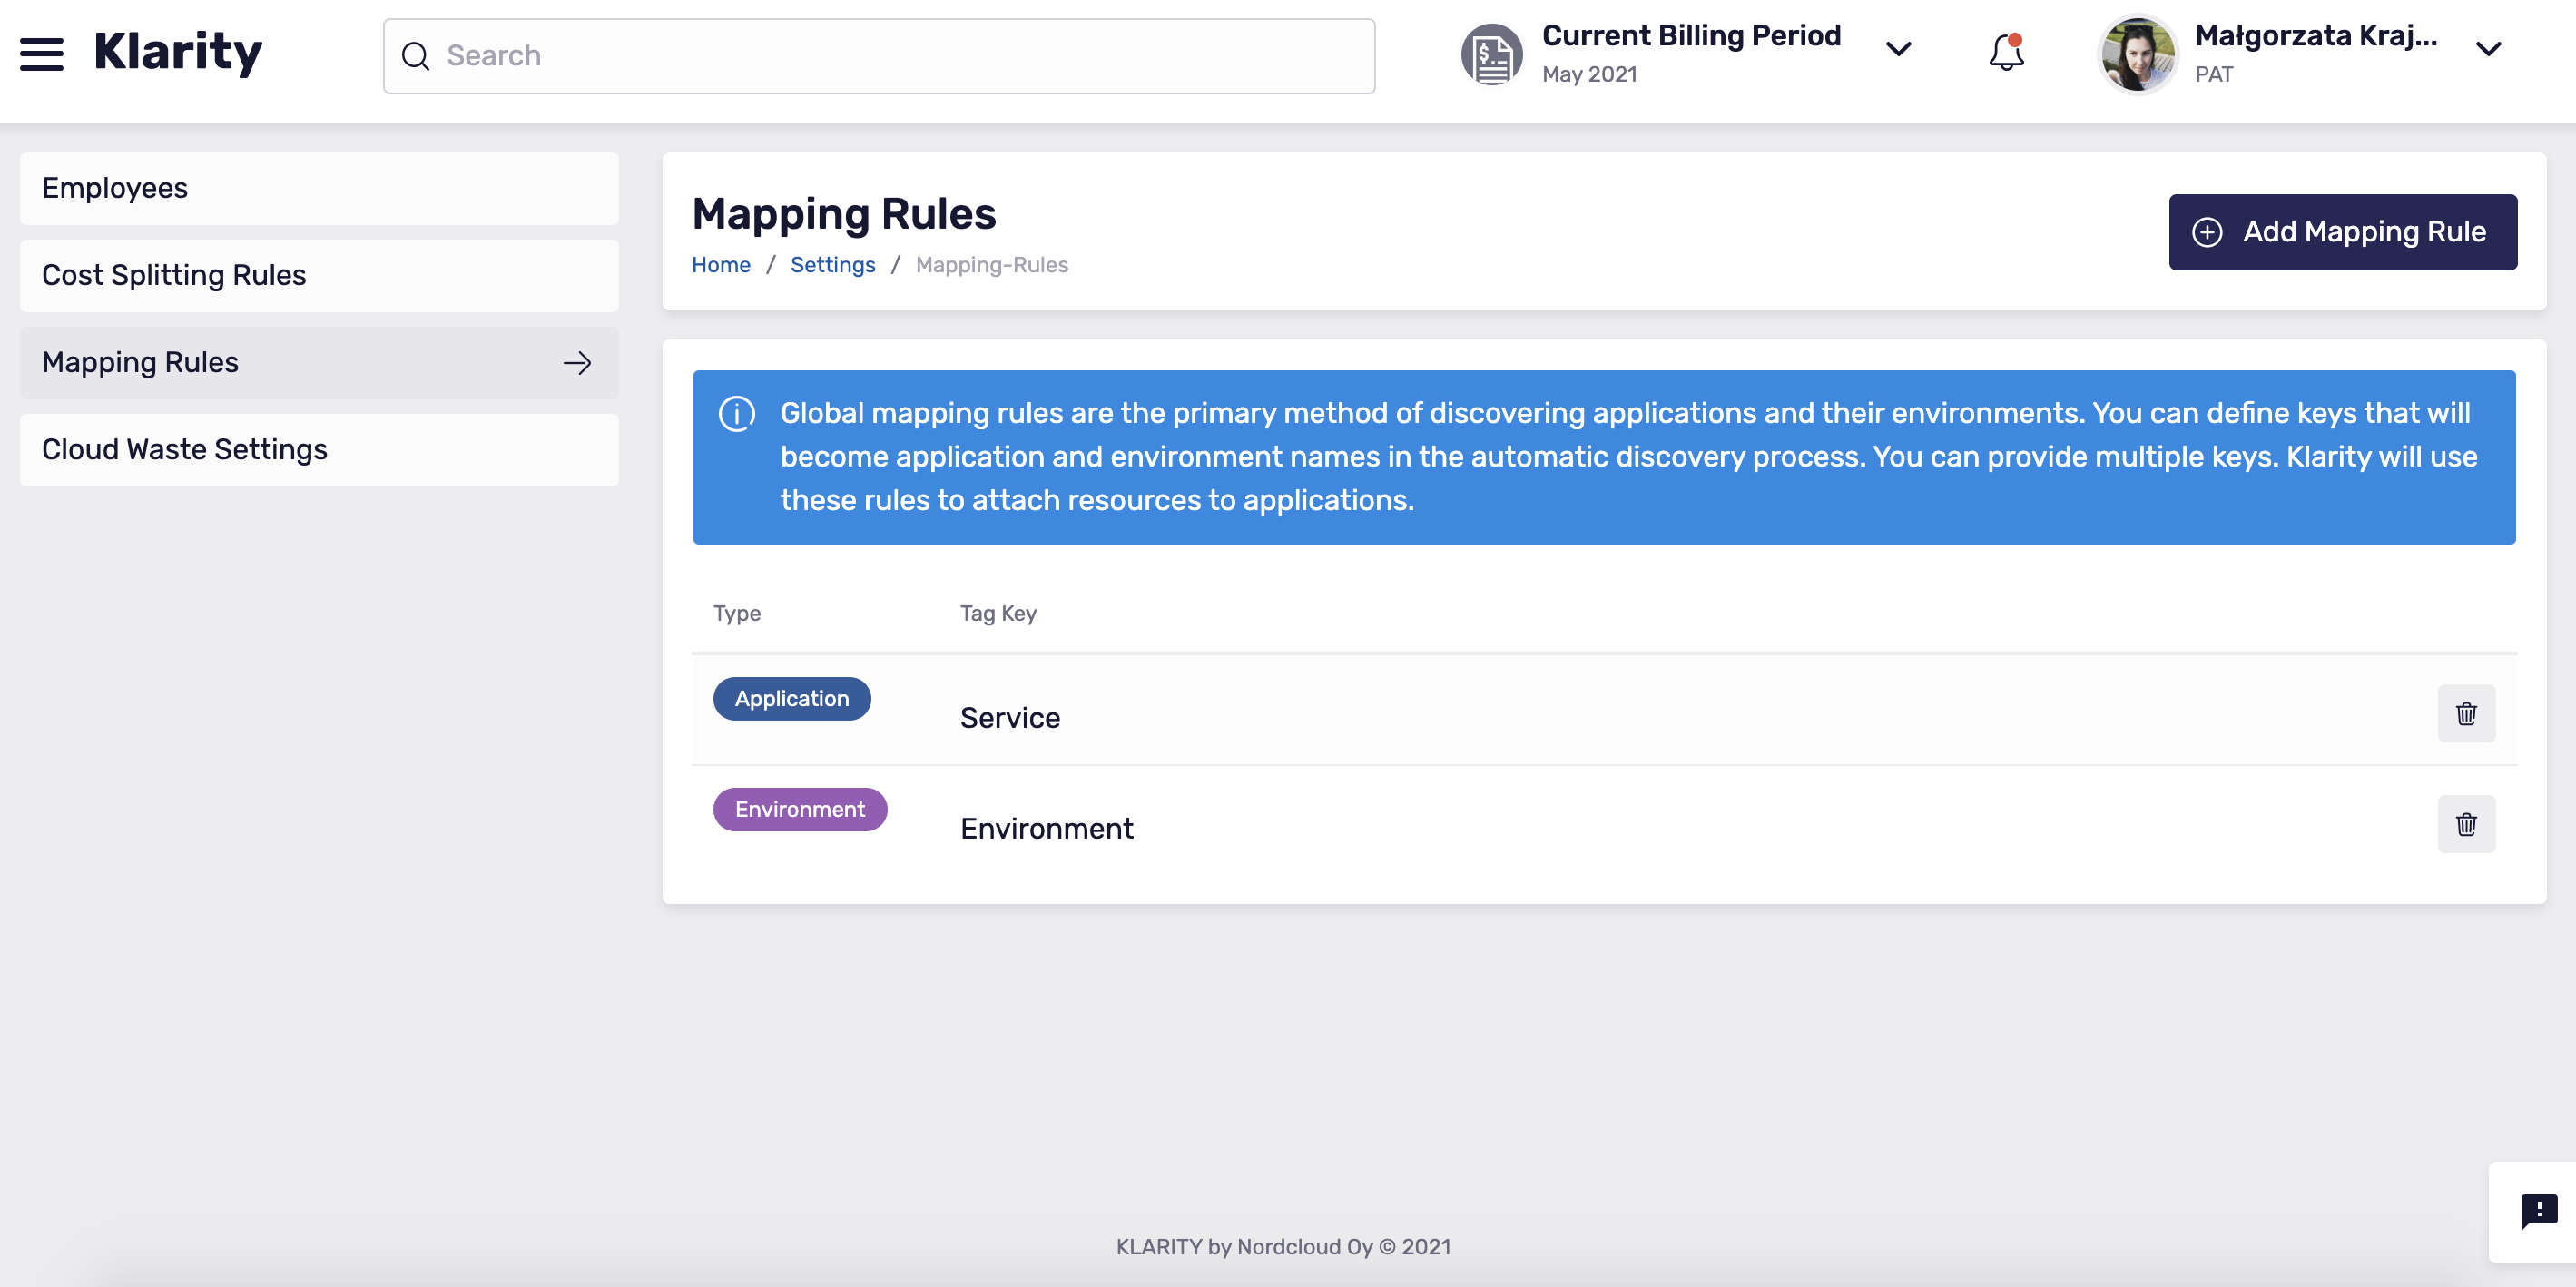
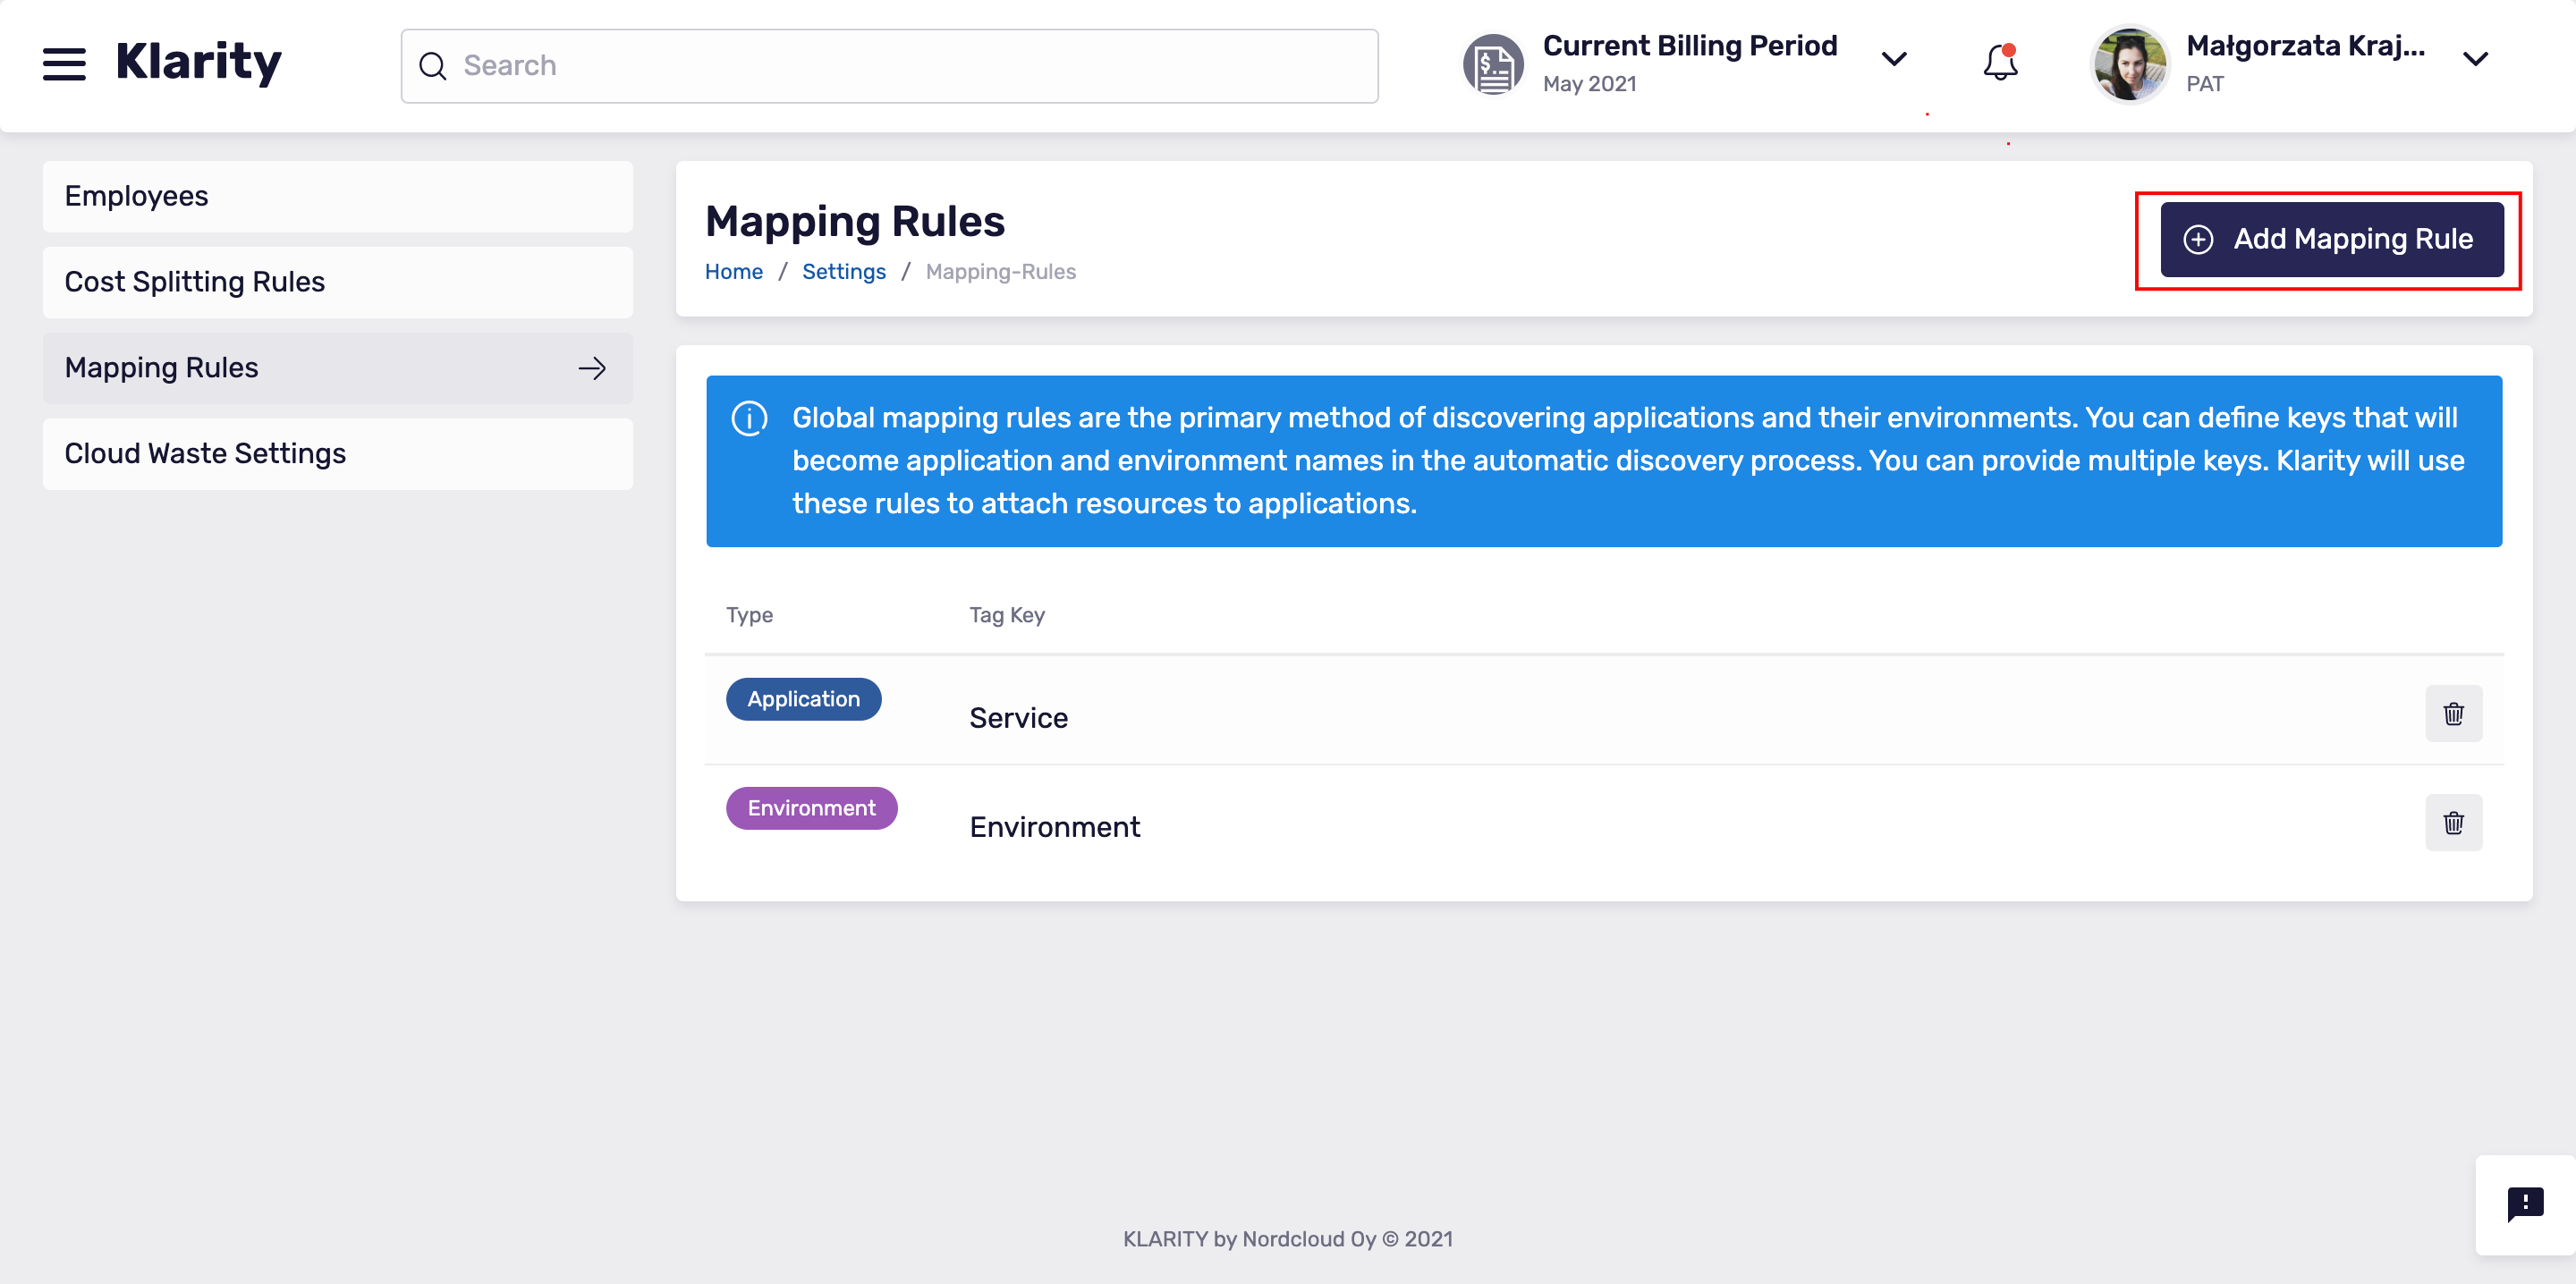
To add a new mapping rule, click Add Mapping Rule. Then set up the mapping base on tags for application and environment. This allows Klarity to discover and create applications and environments with automatically assigned resources.
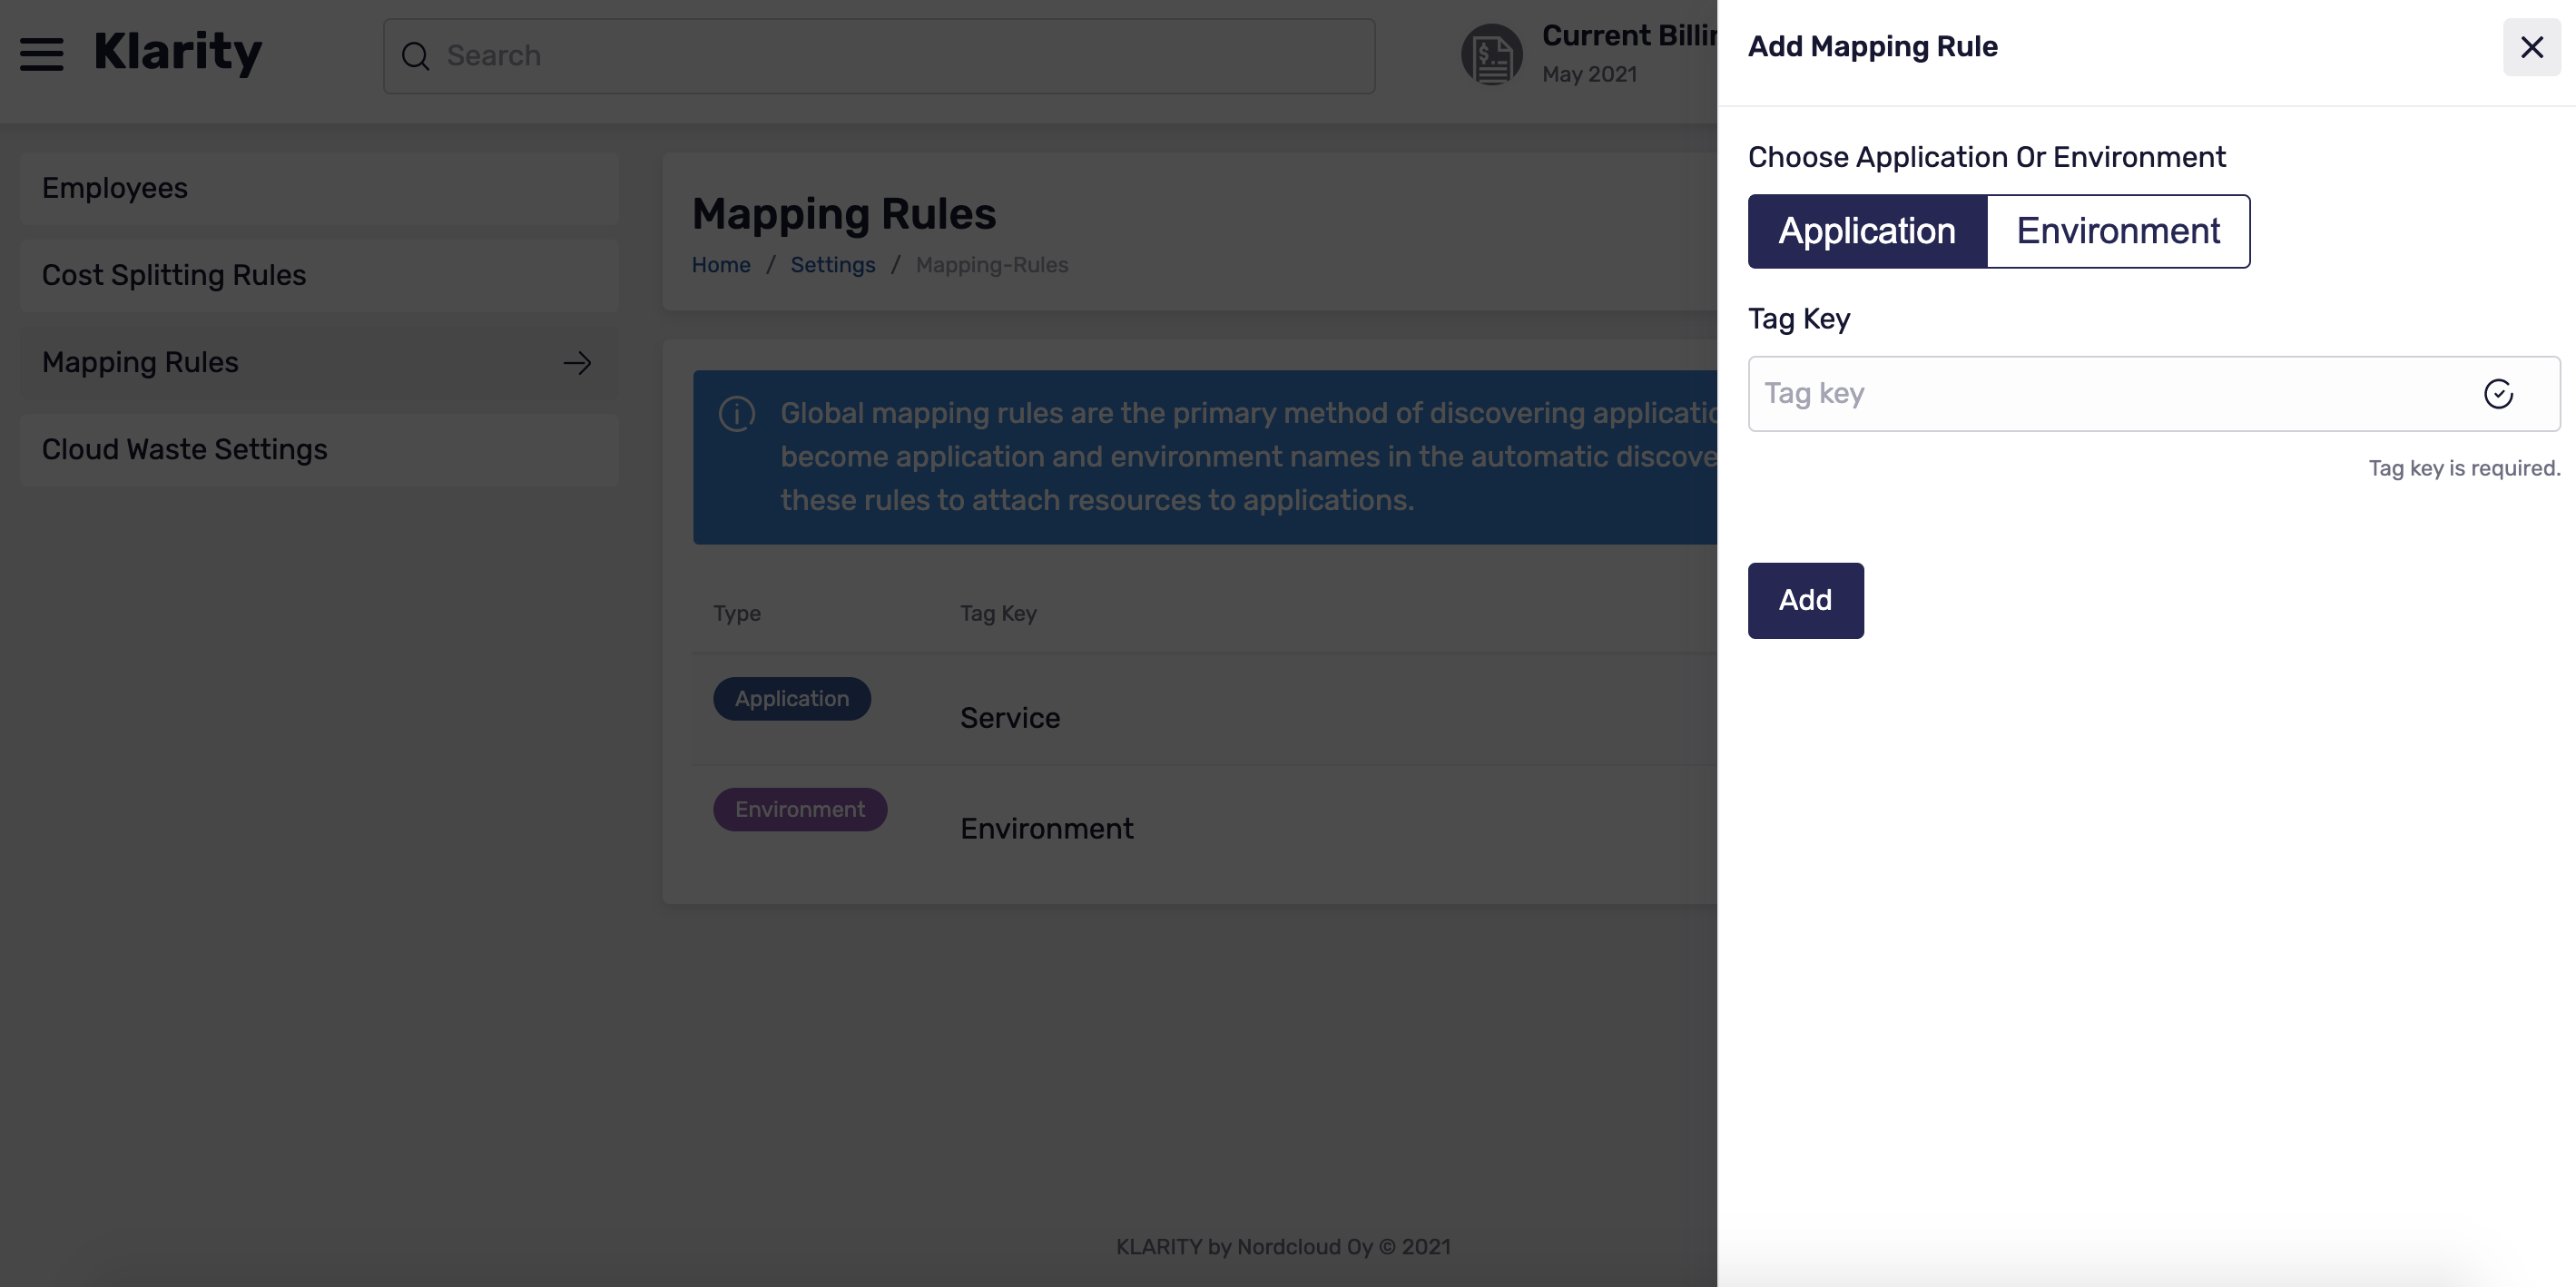
As an example, if you are using Service Key with a value of application name, and the Environment Key a value of environment, you only need to provide the keys. In Klarity, each Key name is case-sensitive, therefore you can set up more than one value for both applications and environments.
If Klarity find a tag for the application, but no tag for the environment, the default environment will be created automatically for the assigned resources.
The next step in discovering which resources belong to which application and environment to define Discovery rules on the environment level. For further information, see: Environment's discovery rules.
Propagating tags
Azure
If your tagging strategy in Azure requires using tags for Subscriptions and/or Resource Groups, you can enable Azure tag propagation in Klarity. Thanks to that, all tags from the Subscription and the Resource Group level will be inherited by the Resource.
Note that, because tags on different levels (Subscription, Resource Group, Resource) could have the same names, there could be collisions. In a situation like this, the value of a tag with higher priority will be taken.
Priorities from the highest to the lowest:
- Resource,
- Resource Group,
- Subscription.
Example:
Consider you have a Storage Account in your Azure cloud. Naturally, it's inside some Resource Group which is under some Subscription.
| Storage Account tags: | Resource Group tags: | Subscription tags: |
|---|---|---|
| "Approver": "Mary Smith" | "Approver": "John Doe" | "Application": "Klarity" |
| "ServiceClass": "Silver" | "CostCenter": "67332" | "CostCenter": "55332" |
| "Environment": "Prod" |
Estate Record which will be created in Klarity is related to the Storage Account. It will have the following tags:
| With tag propagation turned off: | With tag propagation turned on: |
|---|---|
| "Approver": "Mary Smith" | "Approver": "Mary Smith" |
| "ServiceClass": "Silver" | "ServiceClass": "Silver" |
| "Environment": "Prod" | |
| "CostCenter": "67332" | |
| "Application": "Klarity" |
To enable tag propagation setting, please use the instructions below.
- Copy the mutation below:
In Klarity, in the top menu bar, hover over the user profile, and select
API PlaygroundPaste, and then run, the mutation in API Playground
To check if the setting is turned on or off, please use the query below:
GCP
If your tagging strategy in GCP requires using tags (called labels in GCP) for Projects, you can enable GCP tag propagation in Klarity. Thanks to that, all tags from the Project level will be inherited by the Resource.
Note that, because tags on different levels (Project, Resource) could have the same names, there could be collisions. In a situation like this, the value of a tag with higher priority will be taken.
Priorities from the highest to the lowest:
- Resource,
- Project.
Example:
Consider you have a Resource in your GCP cloud that belongs to some Project.
| Resource tags: | Project tags: |
|---|---|
| "Approver": "Mary Smith" | "Approver": "John Doe" |
| "ServiceClass": "Silver" | "CostCenter": "67332" |
| "Environment": "Prod" |
Estate Record which will be created in Klarity will have the following tags:
| With tag propagation turned off: | With tag propagation turned on: |
|---|---|
| "Approver": "Mary Smith" | "Approver": "Mary Smith" |
| "ServiceClass": "Silver" | "ServiceClass": "Silver" |
| "CostCenter": "67332" | |
| "Environment": "Prod" |
To enable tag propagation setting, please use the instructions below.
- Copy the mutation below:
In Klarity, in the top menu bar, hover over the user profile, and select
API PlaygroundPaste, and then run, the mutation in API Playground
To check if the setting is turned on or off, please use the query below:
Edit this page on GitHub